
The rise of Big Tech companies and their increasingly pervasive surveillance of our online lives has led to increased demand for privacy-focused alternatives to Gmail, Outlook.com (formerly Hotmail and live.com), and Yahoo Mail.
While several viable alternatives exist, one of the major obstacles people face when they’re considering ditching these Big Tech email providers is that they don’t want to lose all of their emails when they make the switch.
Fortunately, it’s relatively quick and easy to export your data from one of these Big Tech email providers and transfer it to a new provider.
Simply follow the instructions in this article to keep all of your data intact when switching to a new provider.
Getting your data ready to export from your existing provider
Before you export your data from your existing provider, take the opportunity to clean up your data by:
- Deleting any emails that you don’t want to transfer to your new provider
- Unsubscribing from any email newsletters that you no longer read
- Closing down any accounts associated with the email address that you no longer need
Next, If you’re using a free email address (e.g. @gmail.com), make sure you have a list of all the accounts and newsletters that you want to keep and that are associated with this email address.
If you use a password manager or your browser’s built-in password management features, you’ll be able to find a list of associated accounts by searching for your email address in the search panel of your password manager.
Backing up your data from your existing provider
If you want to save a separate backup copy of your email messages before transferring to your new email provider, you can do that by signing in to your old email account in the browser and then following the three-stage process outlined below to back up your emails with the free, open-source, desktop email client Thunderbird.
1. Connect your existing email provider to Thunderbird
1. Open Thunderbird. If you don’t currently have Thunderbird installed on your computer, you can download it here.
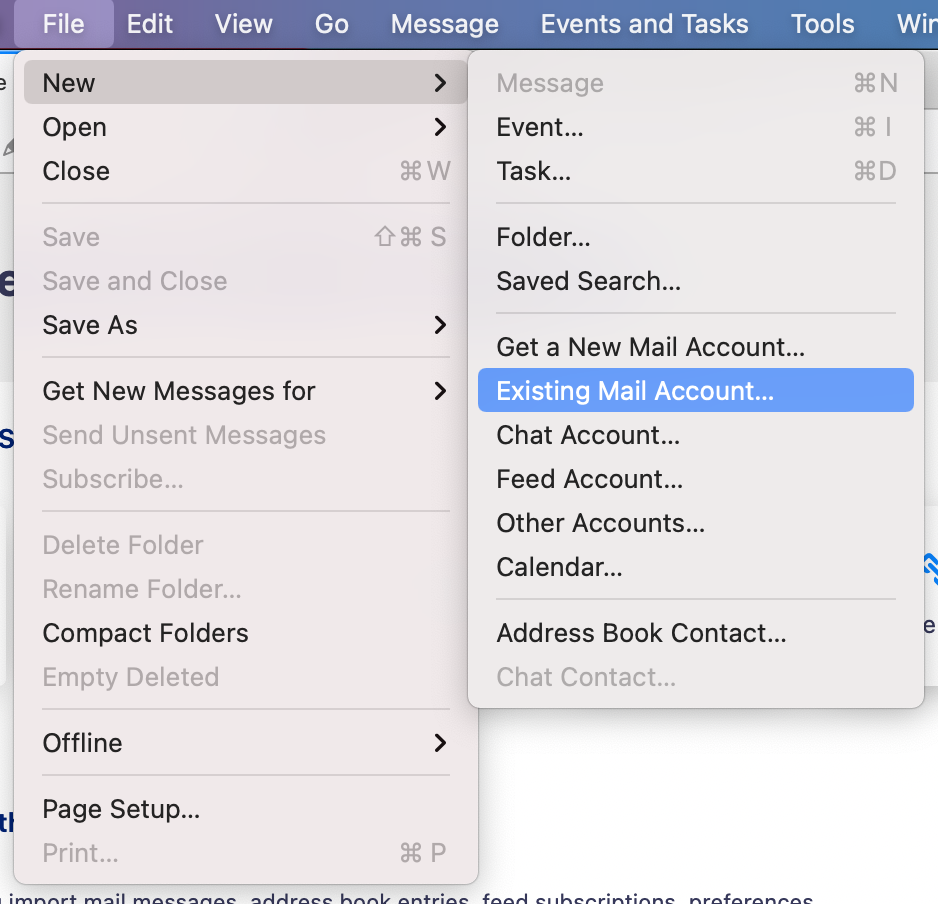
2. If it’s your first time using Thunderbird, you’ll be prompted to set up your existing email address. If you’re already using Thunderbird but haven’t connected the email account you want to back up, click “File” > “New” > “Existing Mail Account” in the top menu bar to display this prompt.
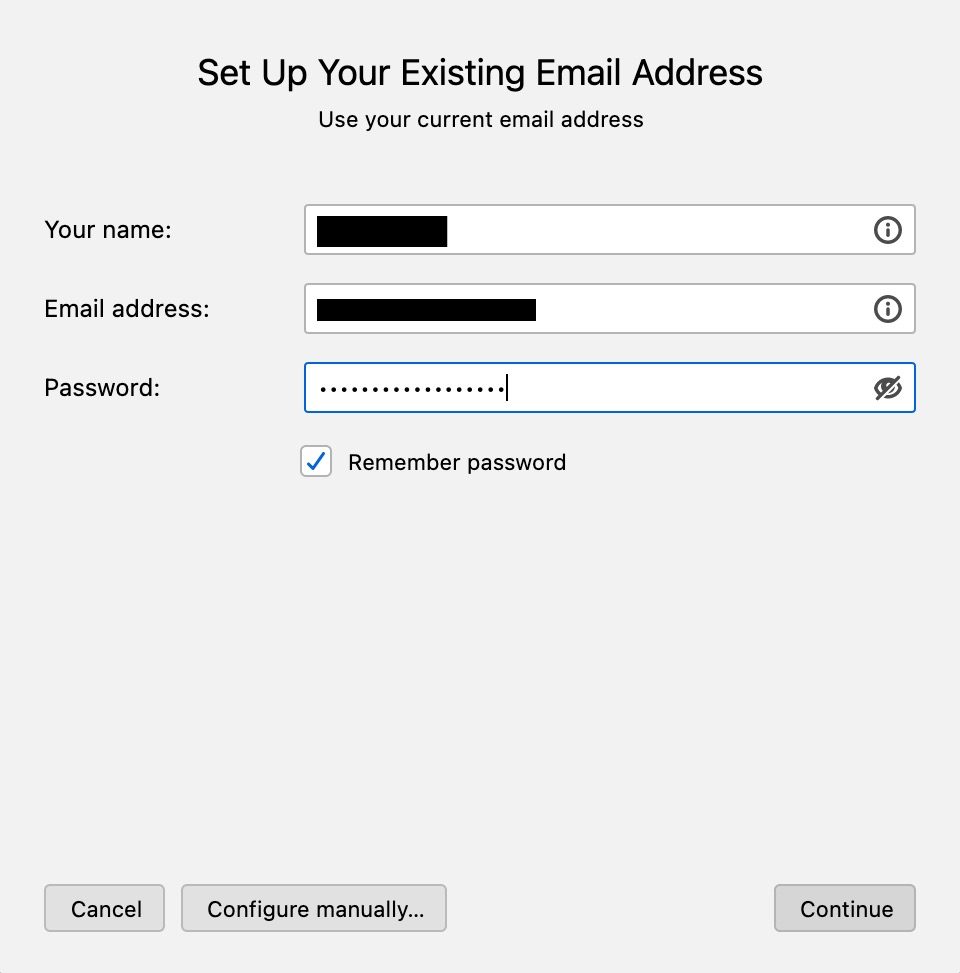
3. Enter your name, email, and password in the form and click “Continue.” To connect a Gmail account, enter your Google account password in the password field. To connect an Outlook.com or Yahoo Mail account, generate an app password in the webmail client and then enter this app password in the password field.
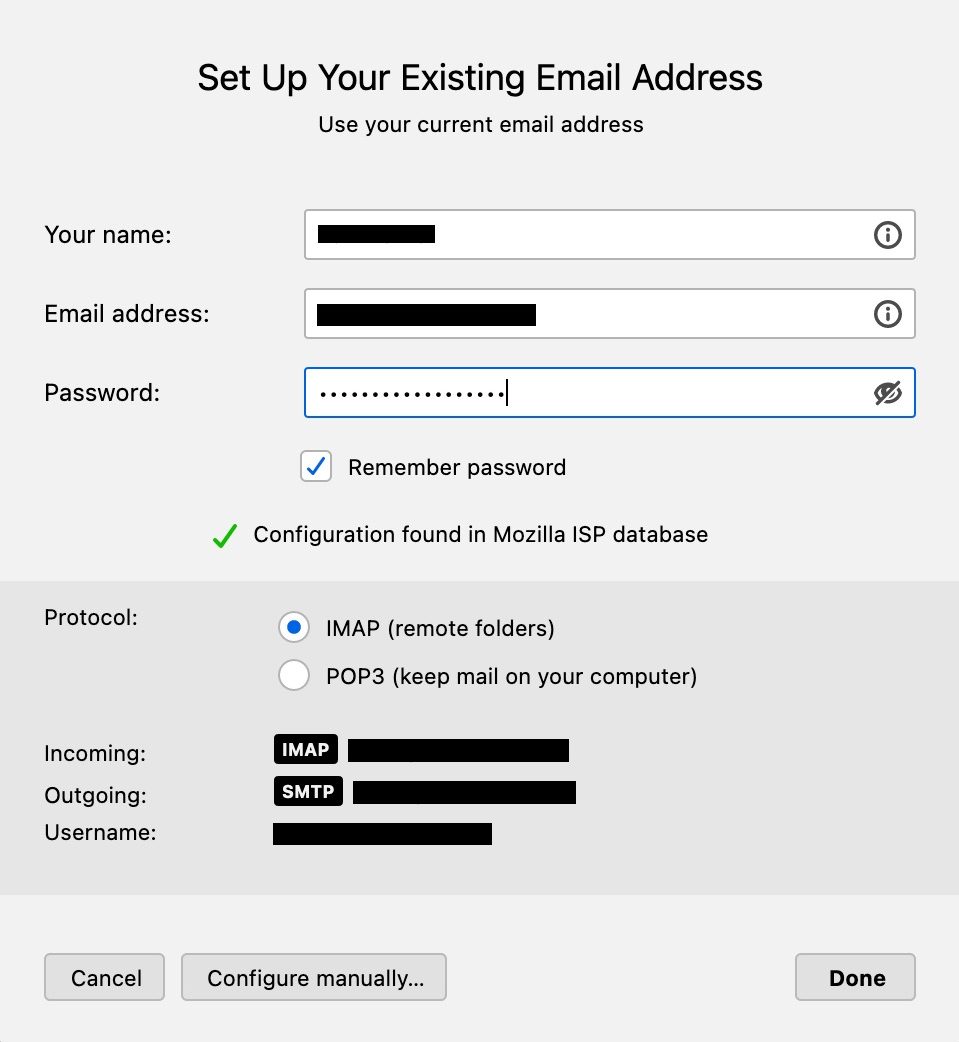
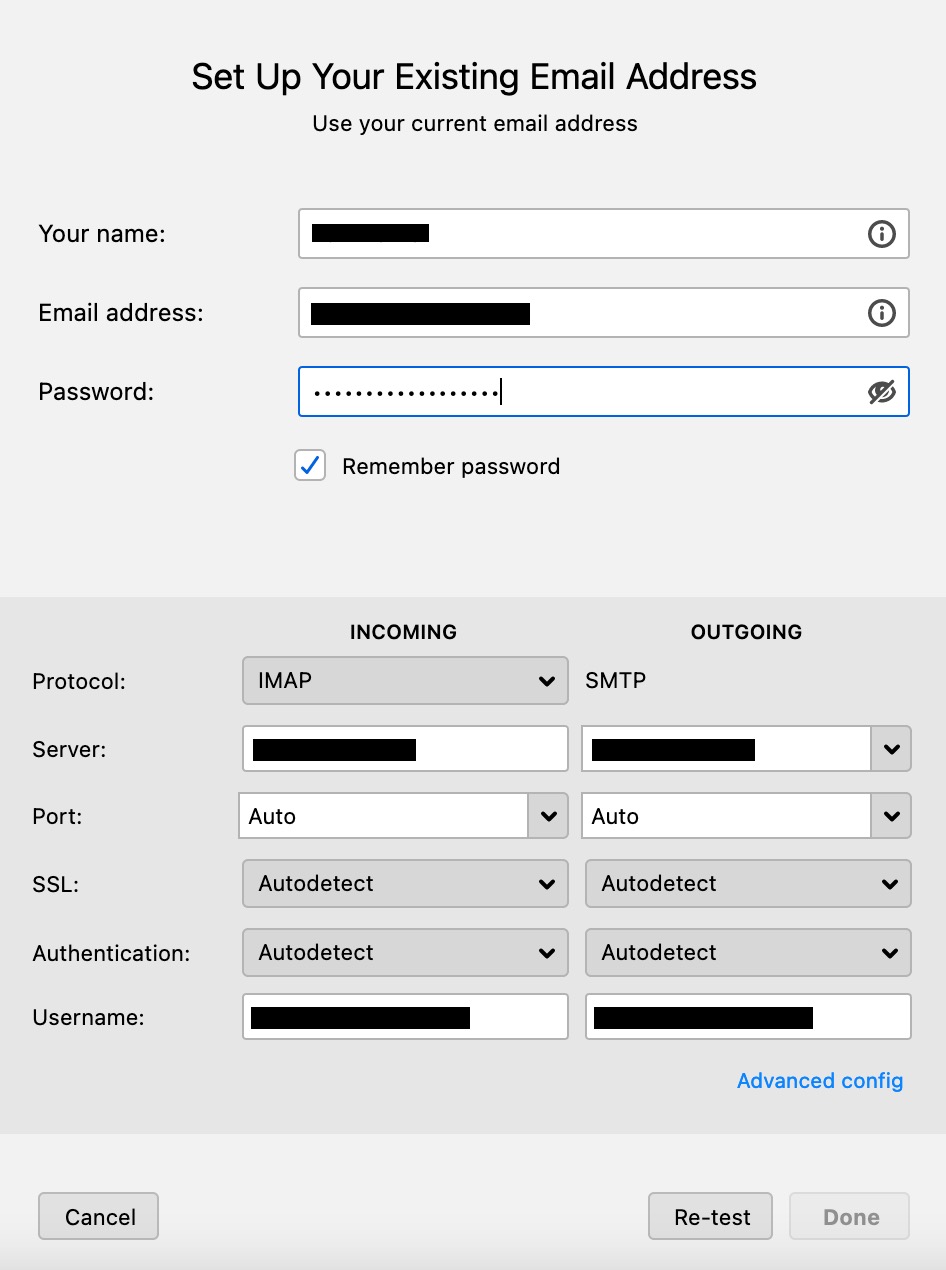
4. Thunderbird will usually configure your incoming and outgoing mail settings automatically. If it doesn’t, click “Configure manually” and use the details on the pages below to configure Thunderbird manually:
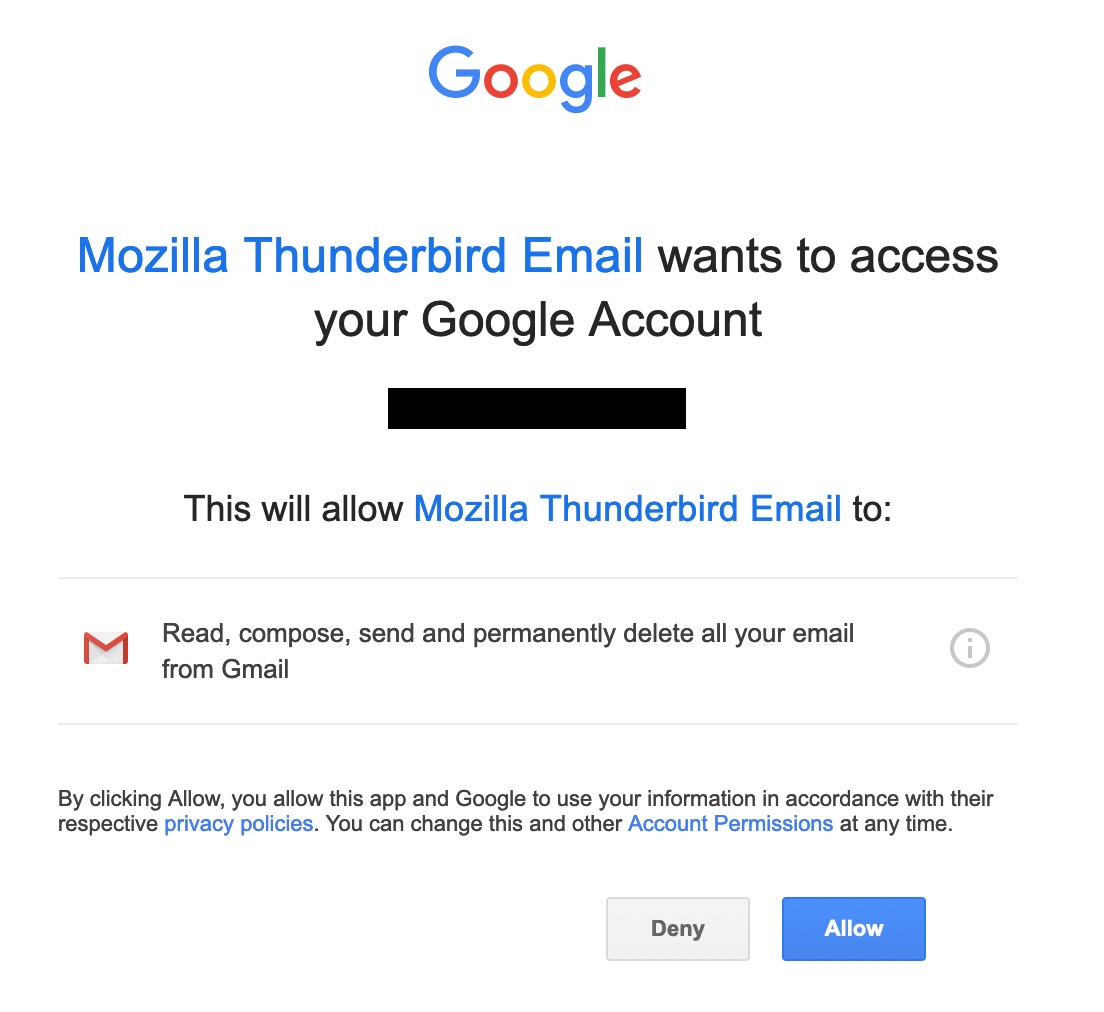
5. Sign in to your webmail account when prompted. If you’re connecting Gmail, click or tap “Allow” when you’re prompted to let Thunderbird access your Google account.
6. Wait for all of your emails to download.
2. Export your email data
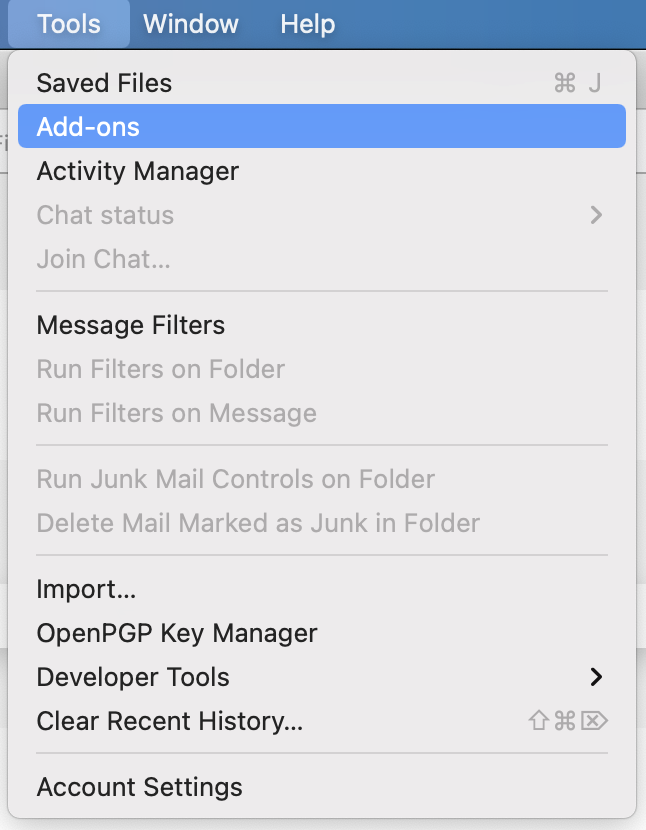
1. Click “Tools” > “Add-ons” in the top menu bar.
2. Search for “ImportExportTools NG,” click the “Add to Thunderbird” button in the search results, and click the “Add” button in the permissions prompt to confirm.


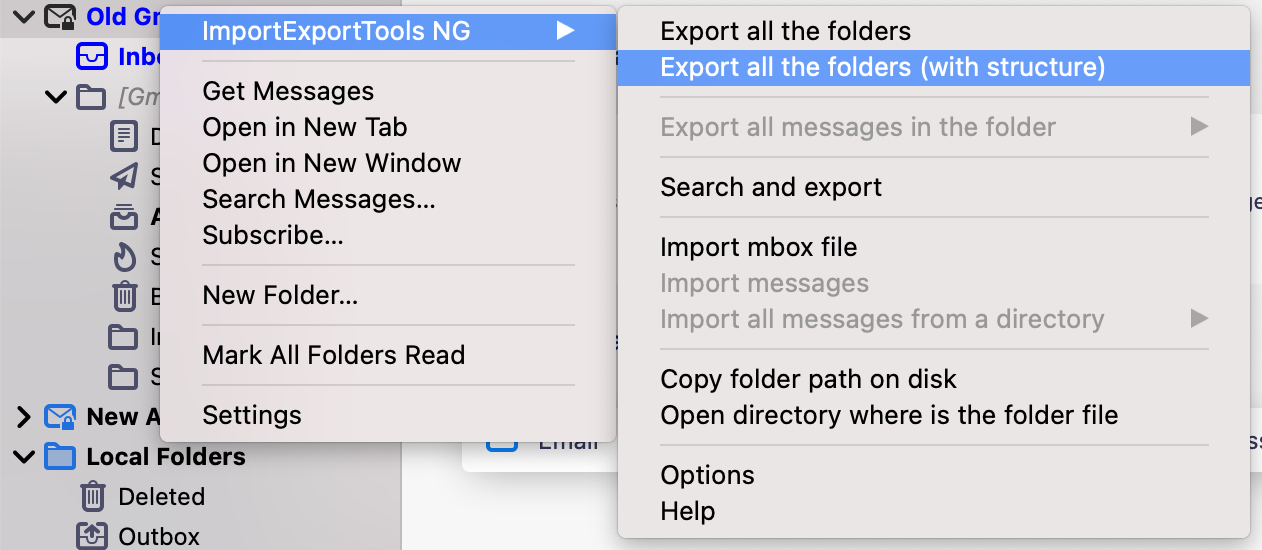
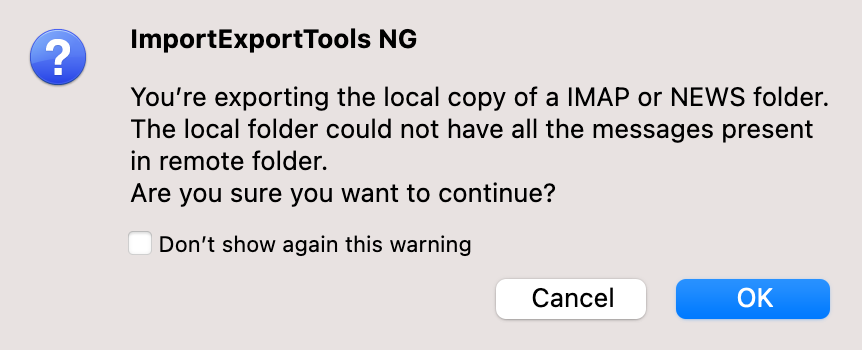
3. Return to the main Thunderbird tab, right-click on your mail account, select “ImportExportTools NG” > “Export all the folders (with structure),” click or tap “OK” when asked if you want to continue, and save your email data to your preferred backup location. The export will contain multiple files so you should create a separate folder to store this data.
Transferring your data to your new provider
Connecting your new email provider to Thunderbird
For most email providers, you can repeat the process you followed when connecting your existing email provider to Thunderbird and enter the credentials for your new provider.
Here are the links to the details and credentials you’ll need to connect specific providers to Thunderbird:
Transferring your emails to your new email provider
1. Click on your old email provider’s “Inbox” folder in Thunderbird and select all the emails.
2. Drag and drop these emails into your new email provider’s “Inbox” folder in Thunderbird.
3. Repeat the process for all the remaining folders except “Trash”/”Deleted Items.”
Publicizing your new email address
If you’re using a free email address associated with your new provider (e.g. @protonmail.com), then you’ll need to let the contacts, accounts, newsletters, and services associated with your old email address know that you have a new email address by:
- Emailing all your contacts from your old email address and giving them your new email address
- Going through the list of all the accounts and newsletters associated with your old email address that you compiled at the start of this process and updating your details so that they have your new email address
Next, consider setting up an auto-reply and automatic email forwarding to automatically publicize your new email address and get notified whenever someone attempts to contact you on your old email address.
Setting up auto-replies
To set up auto-replies in Gmail
1. Open your Gmail mailbox in the browser, click or tap the settings icon, and select “See all settings.”

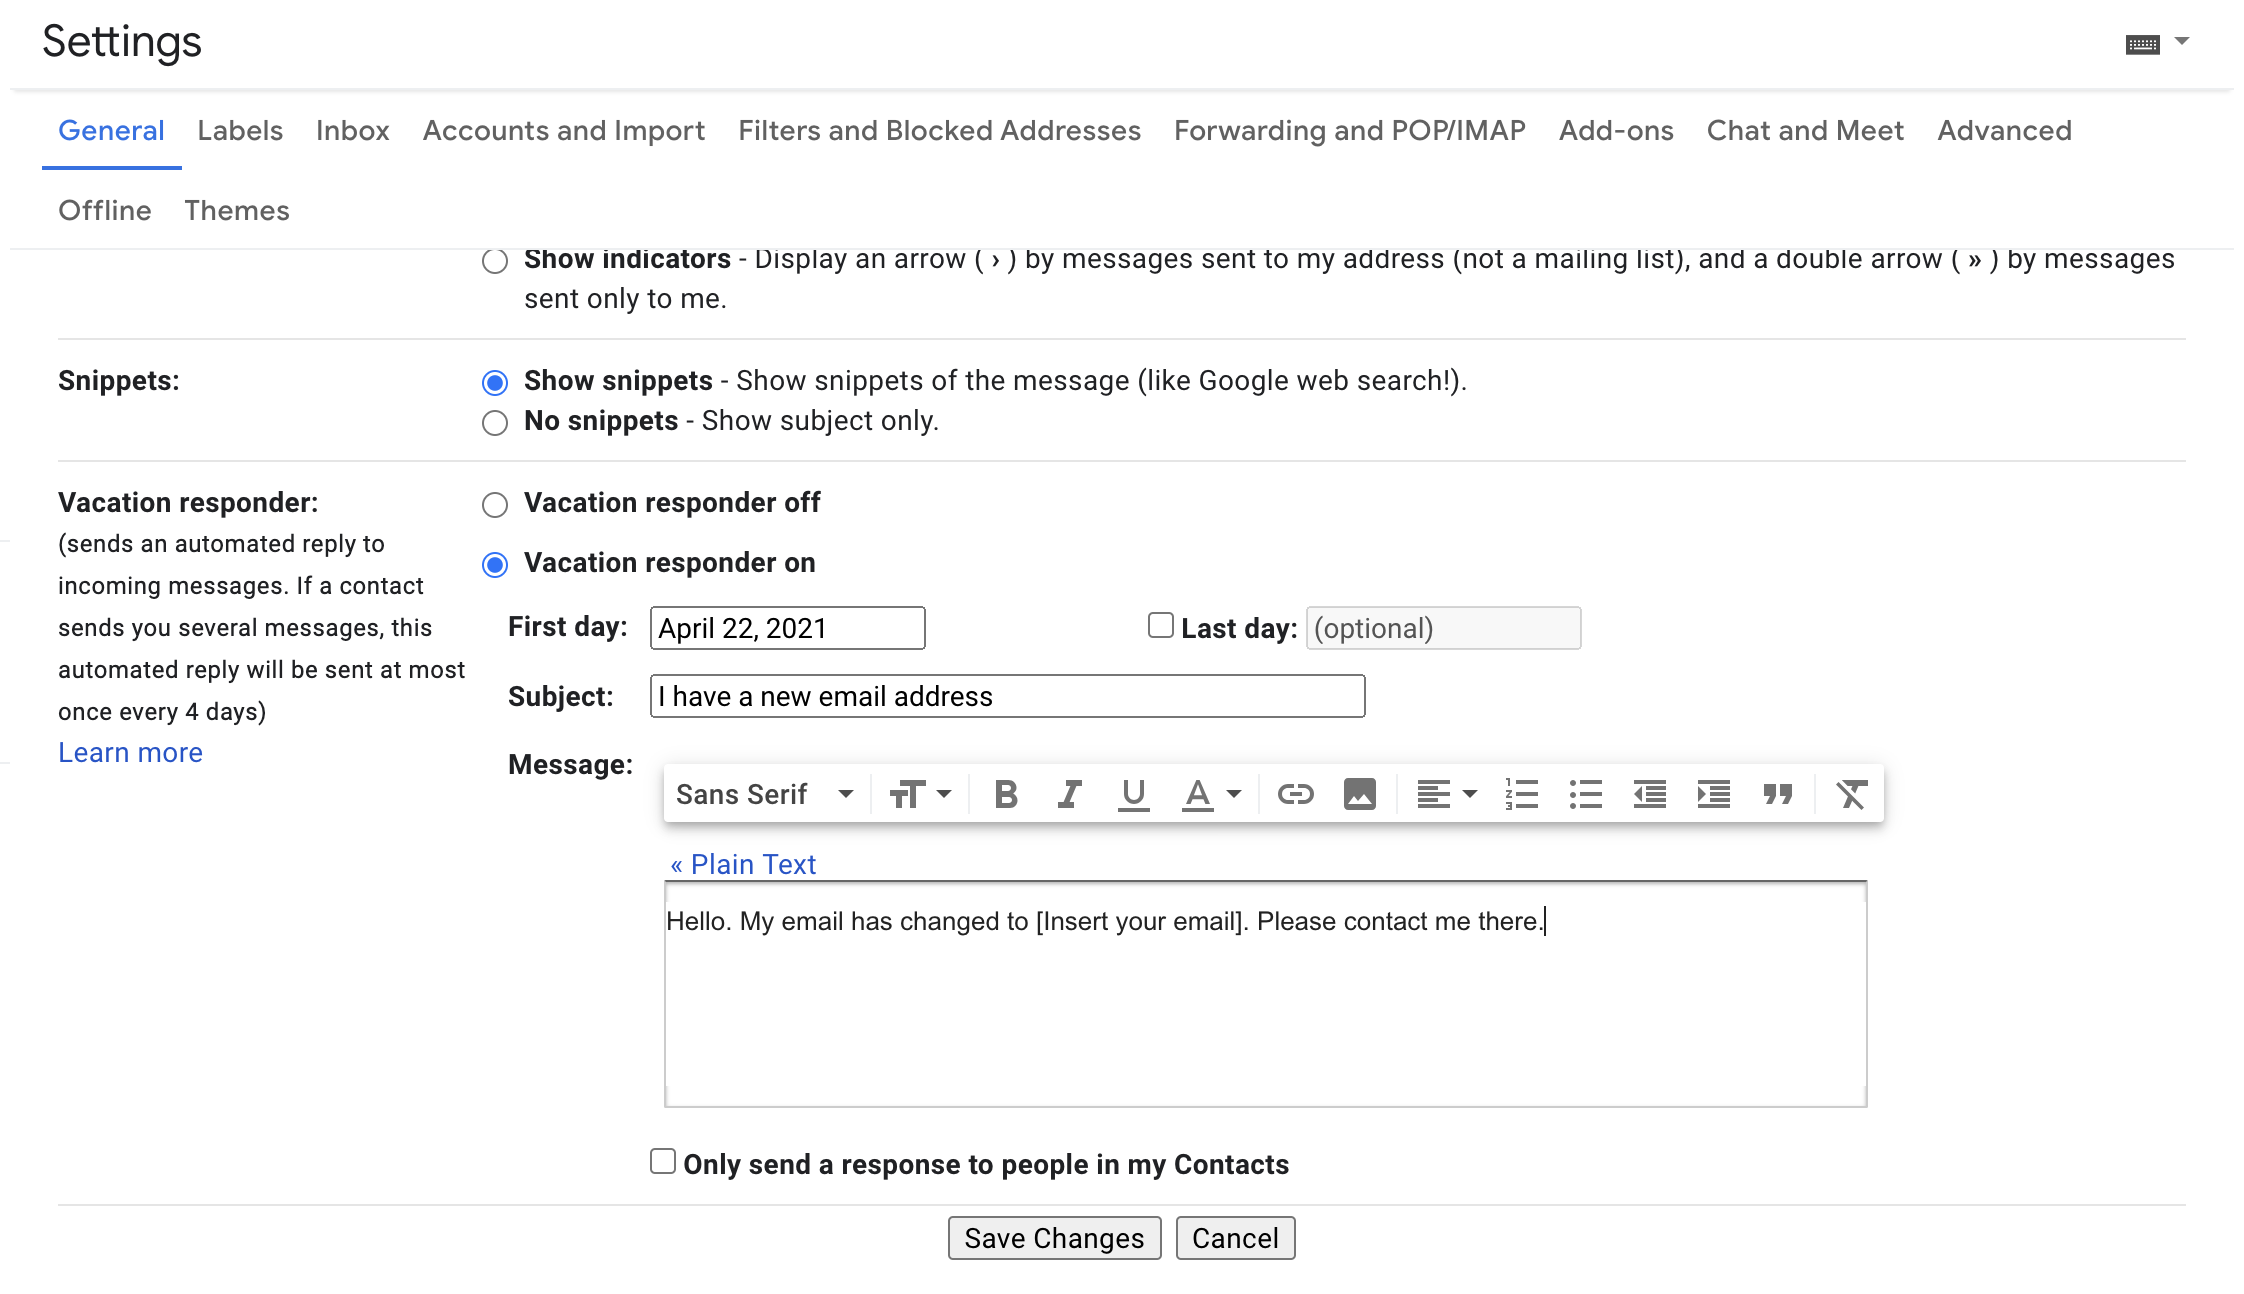
2. Scroll down to the “Vacation responder” section and select “Vacation responder on.”
3. Compose your automated reply and click or tap the “Save Changes” button at the bottom of the page. This automated reply will now be sent in response to all incoming emails.
To set up auto-replies in Outlook.com
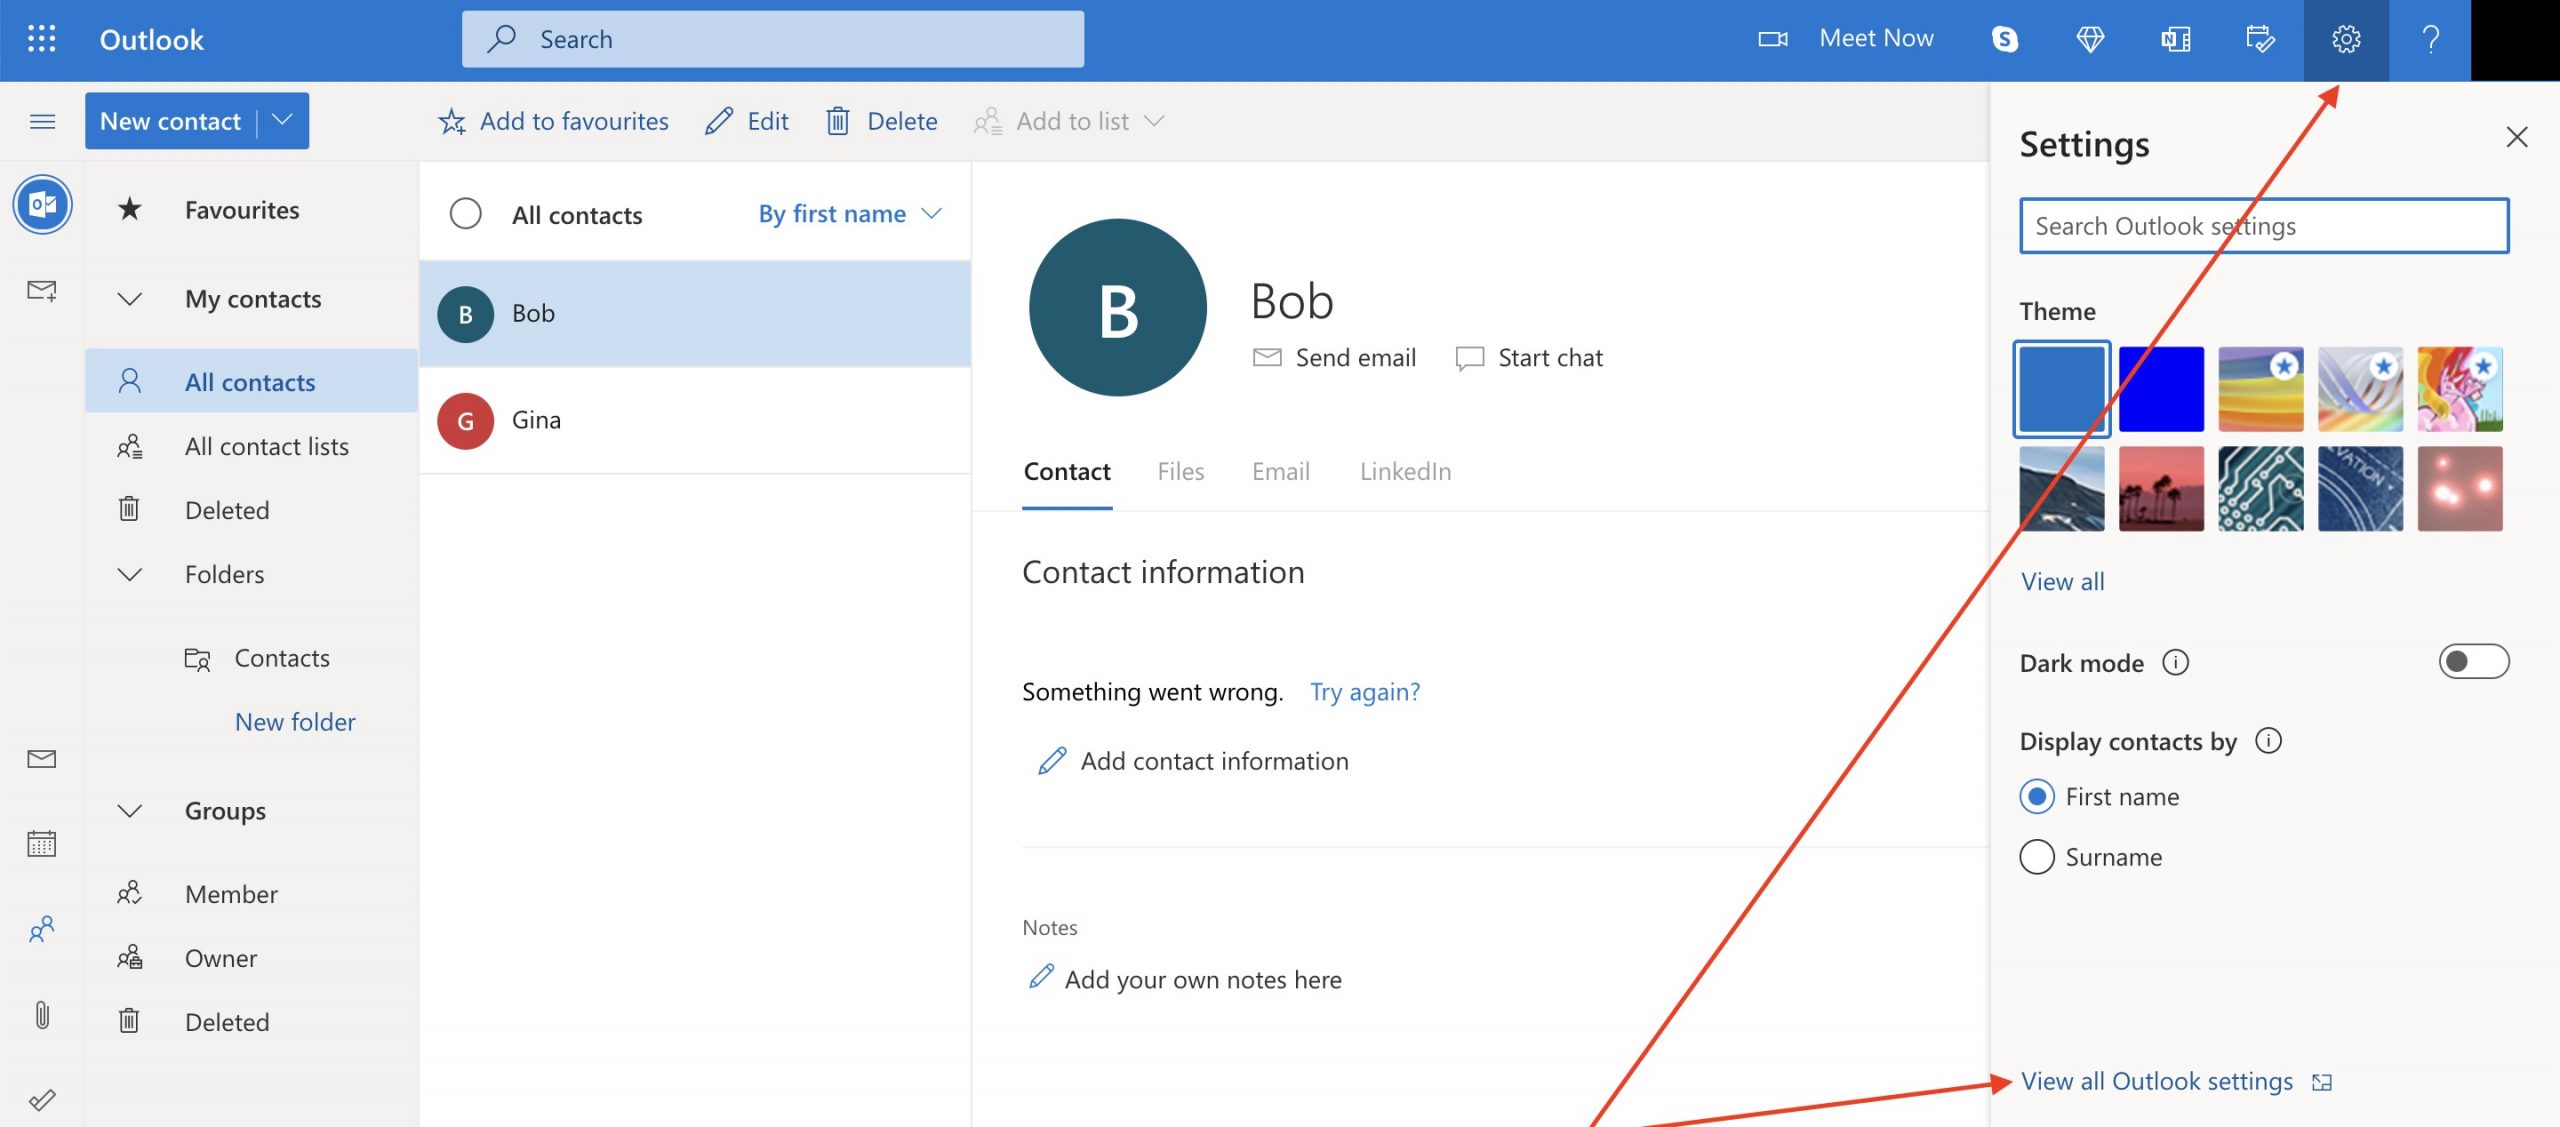
1. Open your Outlook.com mailbox in the browser, click or tap on the settings gear, and select “View all Outlook settings.”
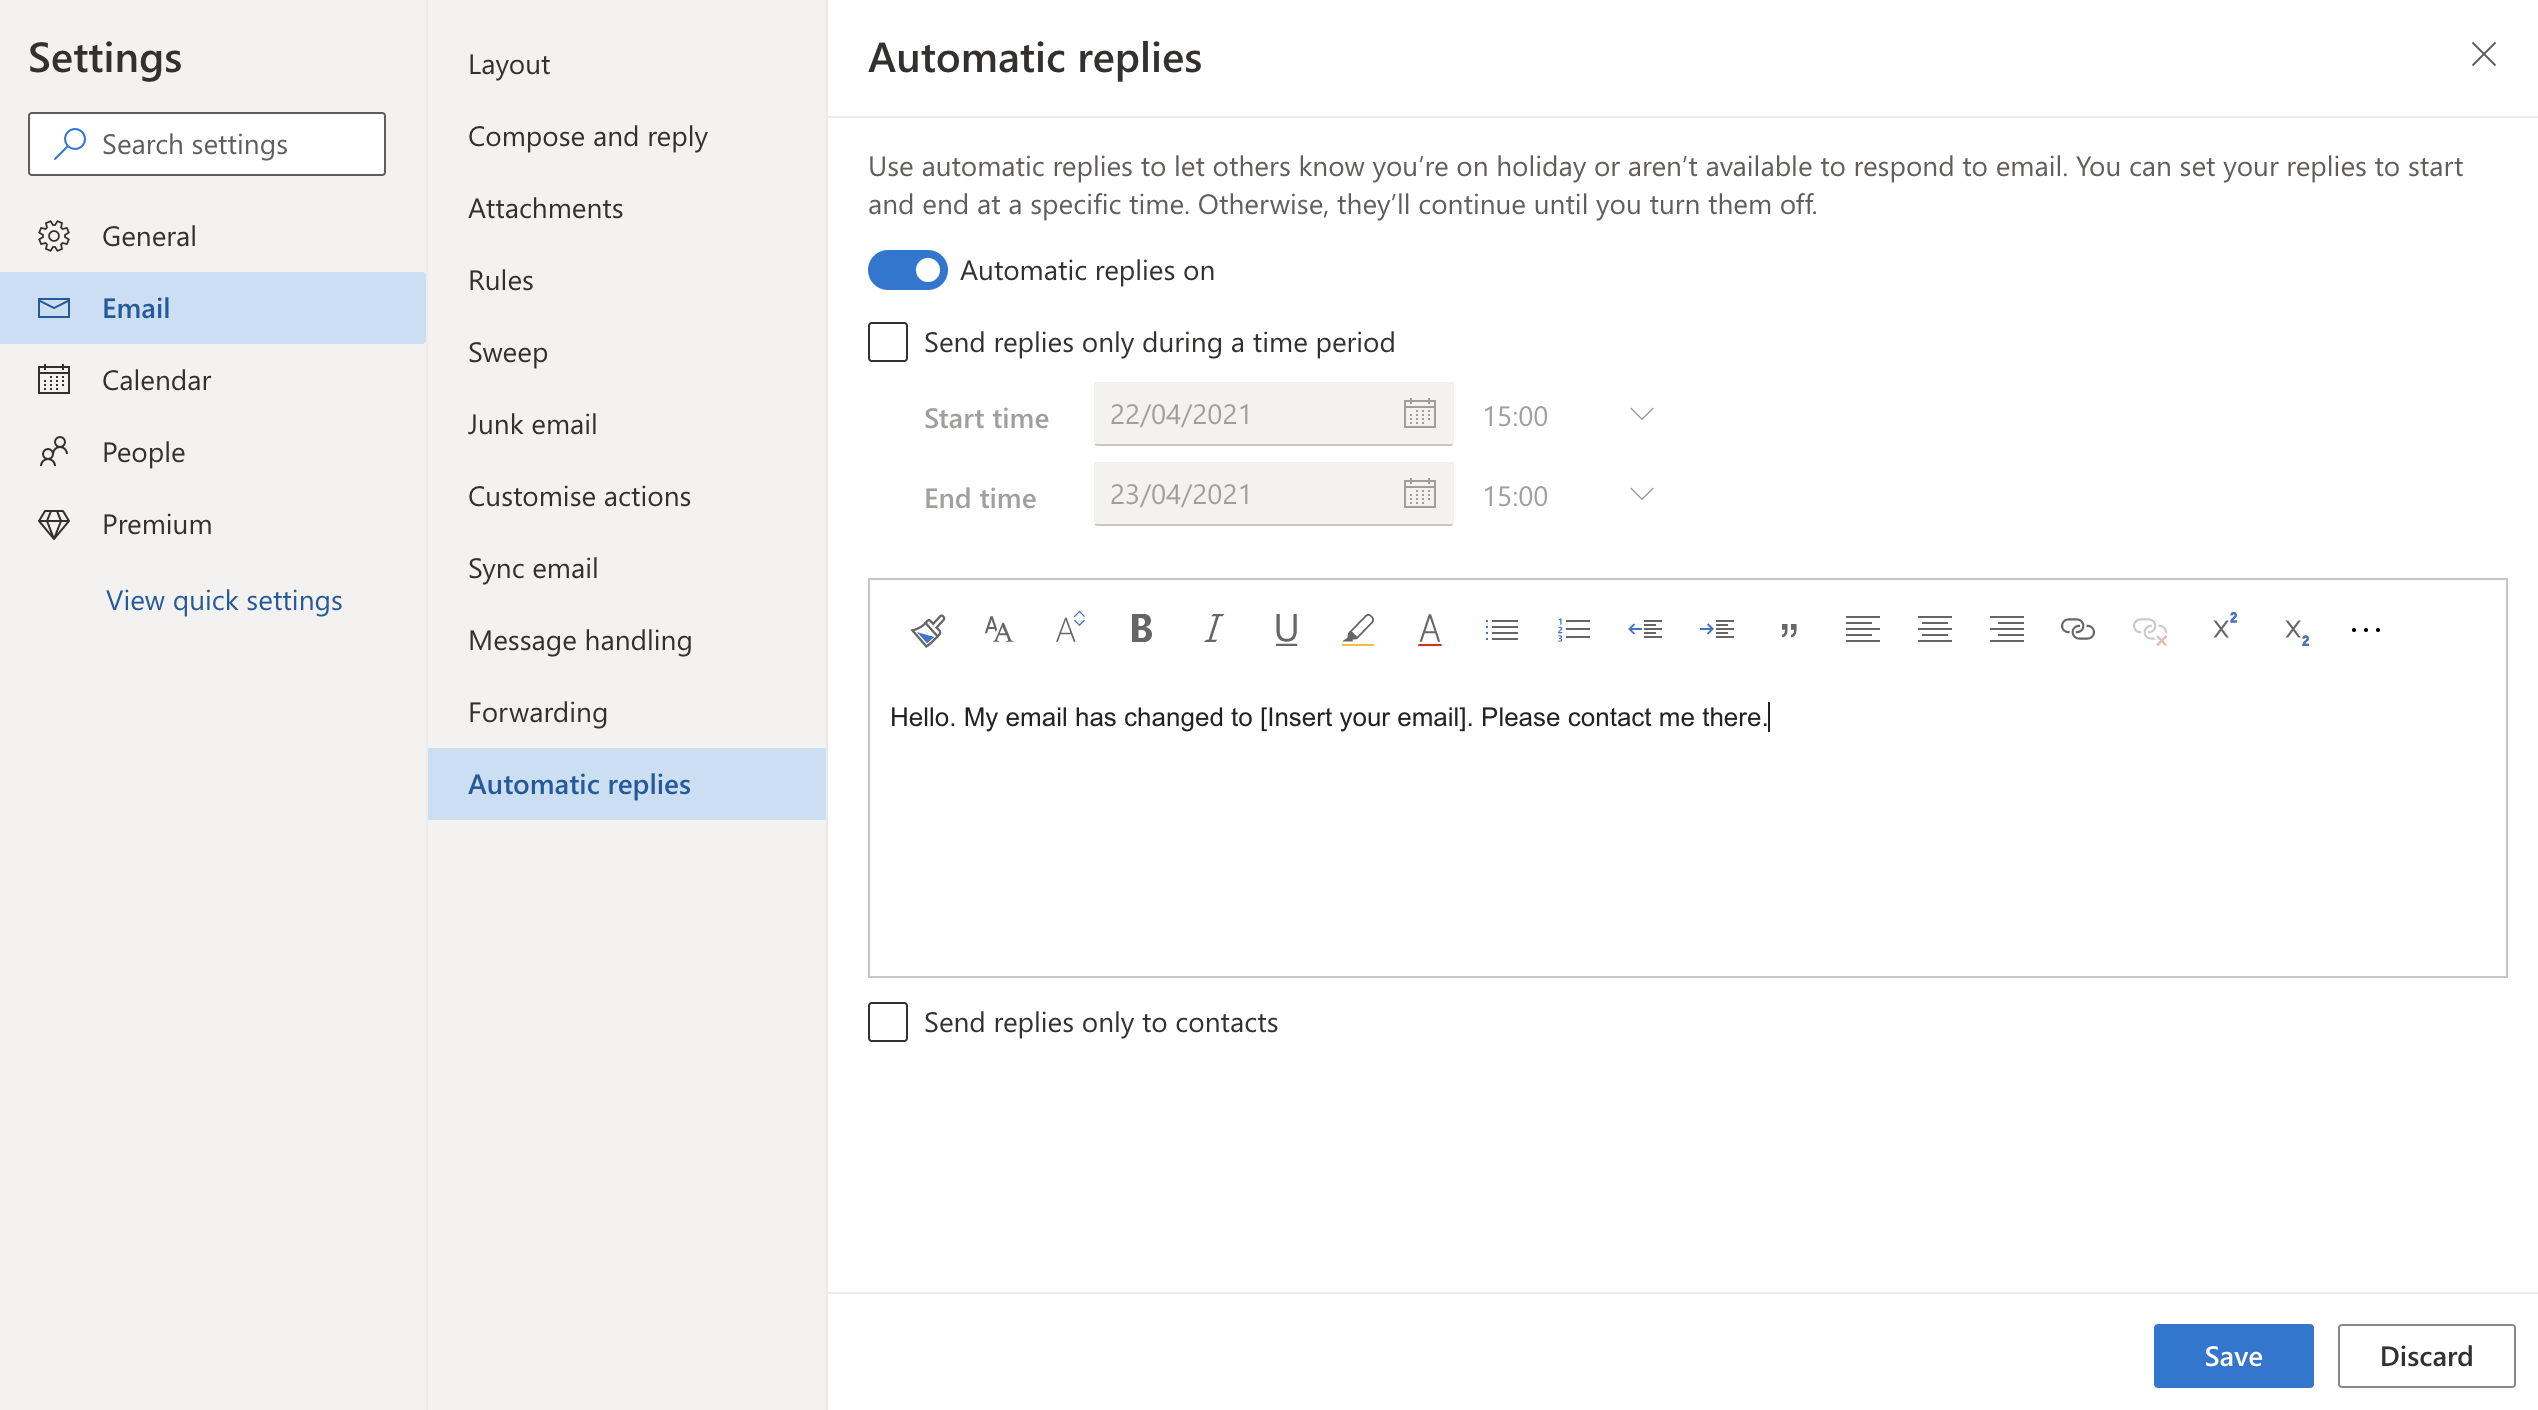
2. Select “Email” > “Automatic replies” and enable “Turn on automatic replies.”
3. Compose your automated reply and click or tap the “Save” button. This automated reply will now be sent in response to all incoming emails.
To set up auto-replies in Yahoo Mail
1. Open your Yahoo Mail mailbox in the browser, click or tap on the settings gear, and select “More Settings.”
2. Click or tap “Vacation response” and enable “Turn on vacation response.”
3. Compose your automated reply and click or tap the “Save” button. This automated reply will now be sent in response to all incoming emails.
Setting up automatic email forwarding
To set up automatic email forwarding in Gmail
1. Open your Gmail mailbox in the browser and click or tap the settings icon and select “See all settings.”
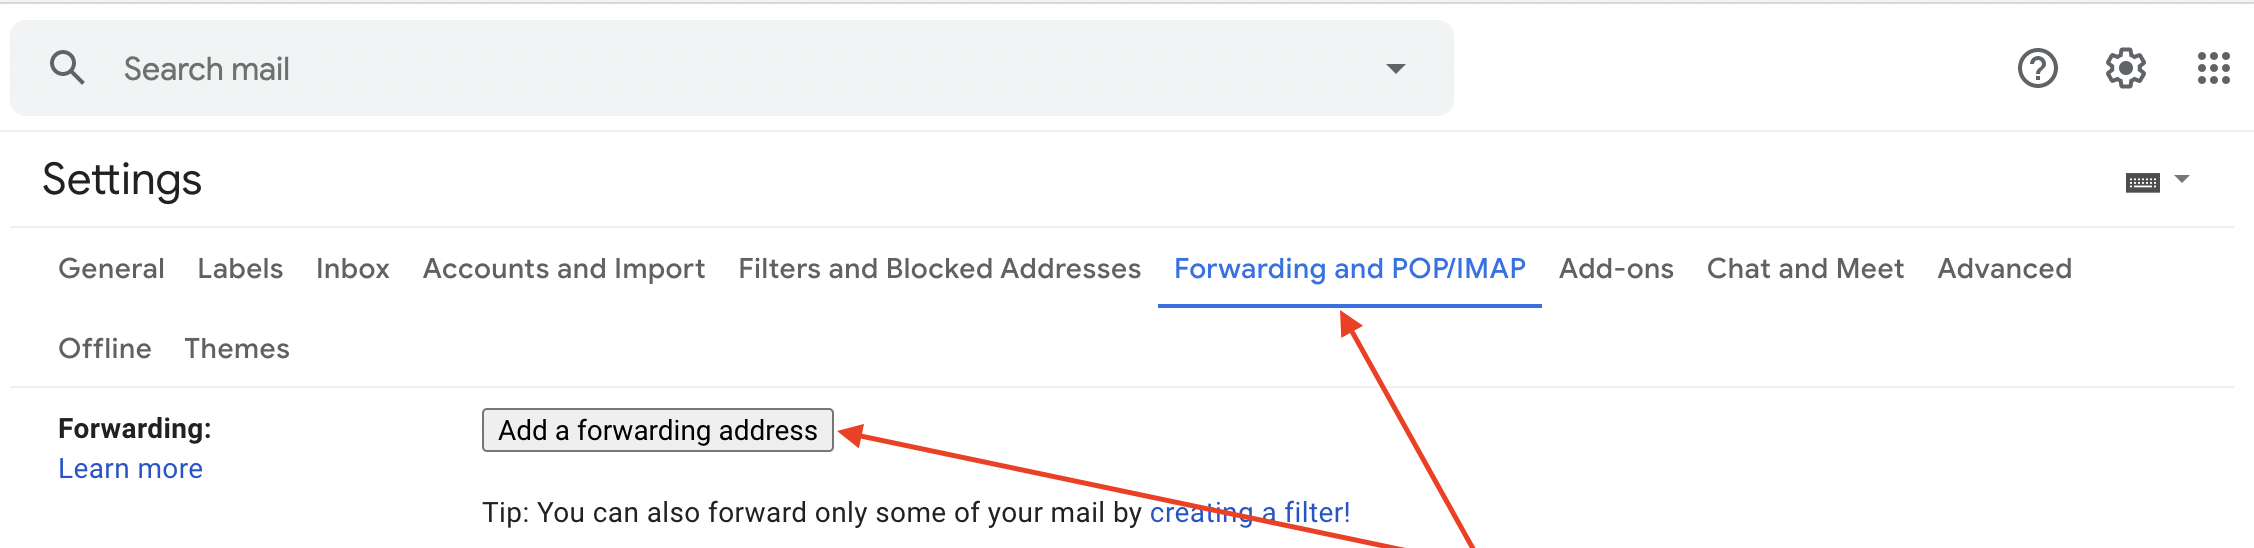
2. Click or tap the “Forwarding and POP/IMAP” tab.
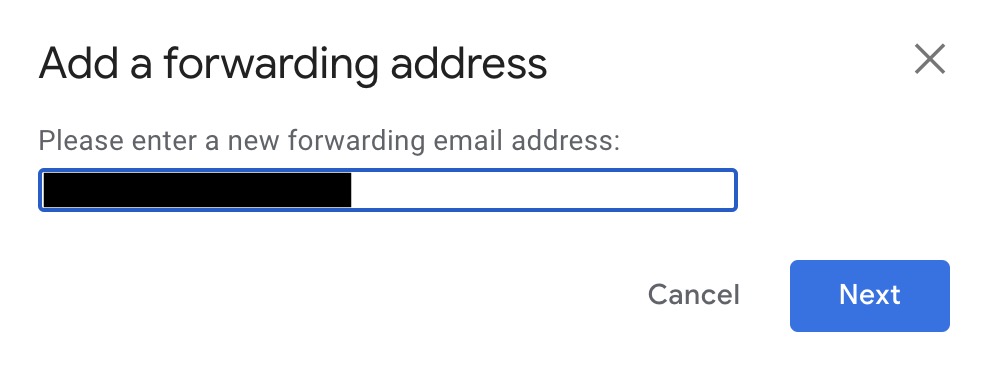
3. Click or tap the “Add a forwarding address” button.
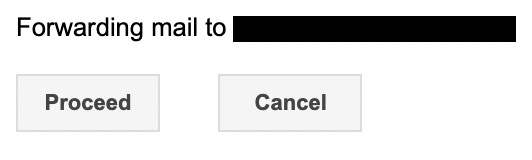
4. Enter your new email address and click “Next” > “Proceed” > “OK.”
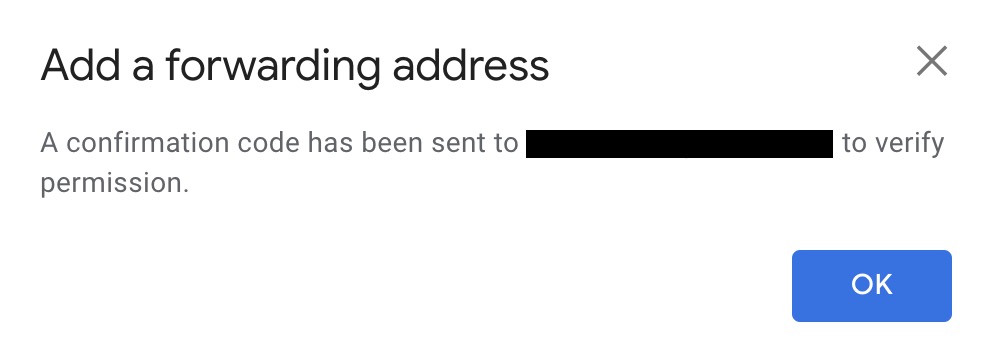
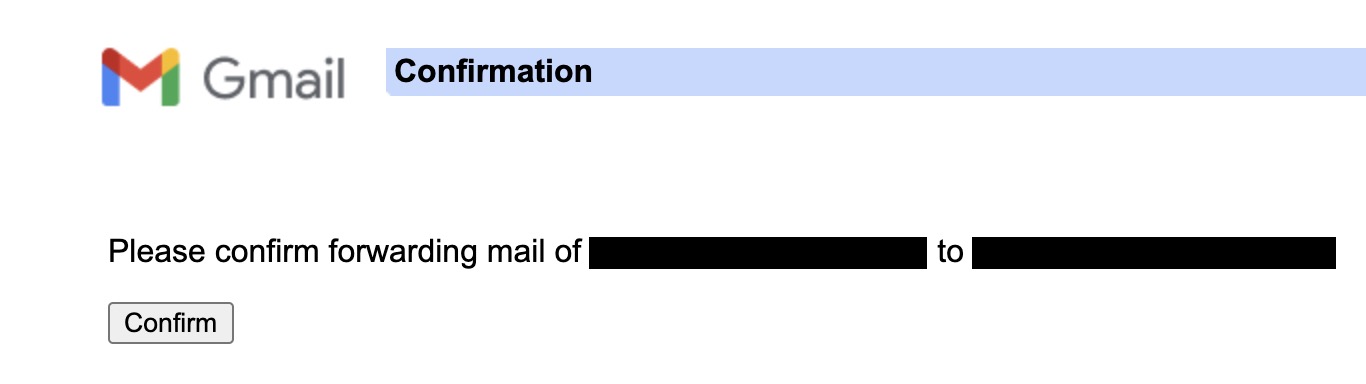
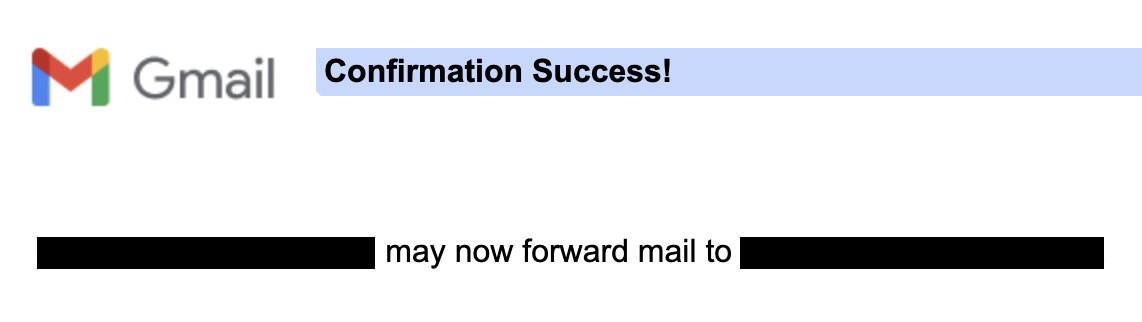
5. A verification message will be sent to your new email address. Click the verification link in that message and click “Confirm” when prompted.
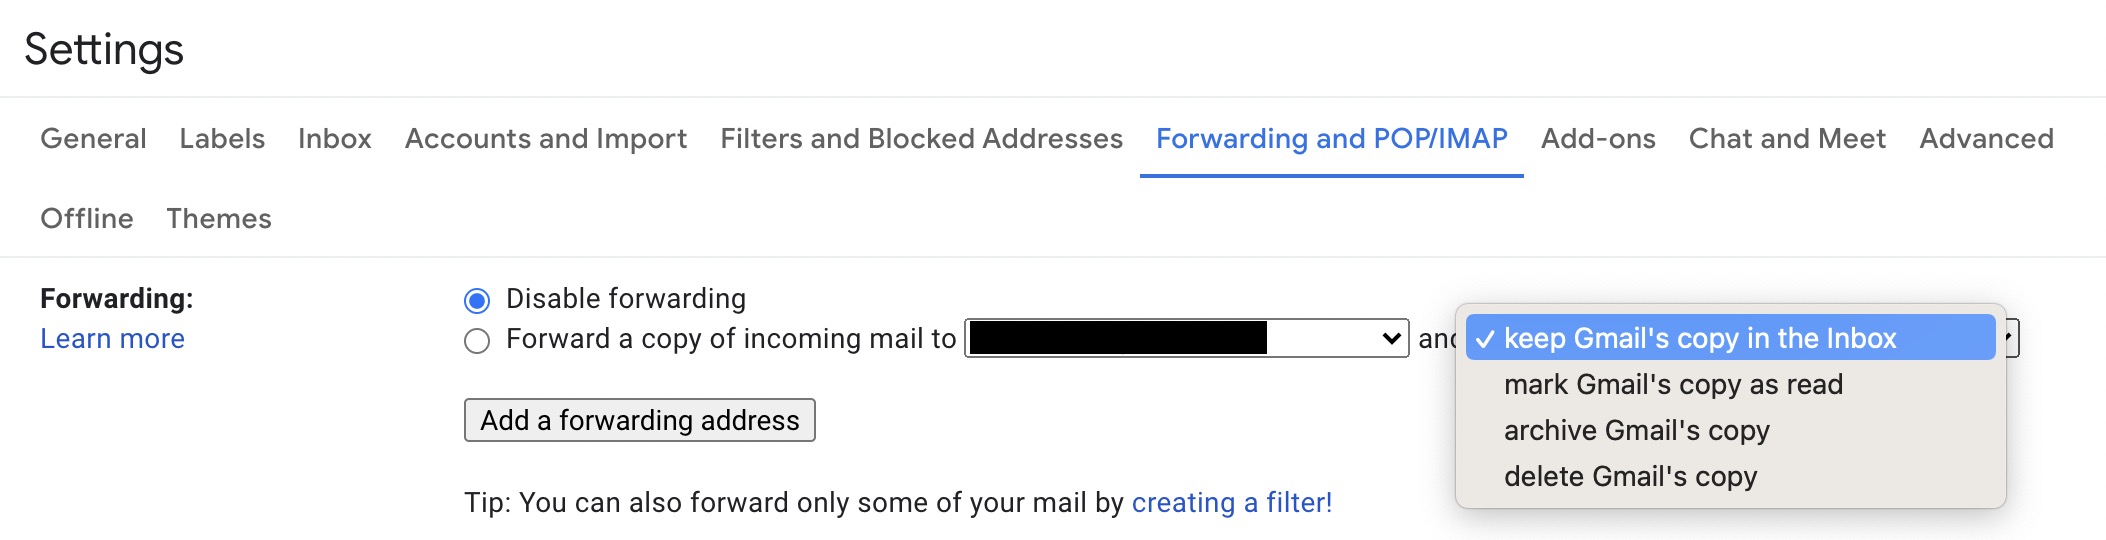
6. Return to the “Forwarding and POP/IMAP” tab in your Gmail settings, refresh the page, and select your new email address from the “Forward a copy of incoming mail to” dropdown menu.
7. Use the second dropdown menu to decide whether you want Gmail to keep its copy of the email, mark it as read, archive it, or delete it.
8. Click or tap the “Save Changes” button at the bottom of the page. All of your Gmail emails will now be forwarded to your new email address.
To set up email forwarding on Outlook.com
1. Open your Outlook.com account in the browser, click or tap on the settings gear, and select “View all Outlook settings.”
2. Select “Email” > “Forwarding” and re-enter your password when prompted.
3. Select “Enable forwarding” and enter your new email address in the “Forward my email to:” box.
4. Choose whether you want to keep a copy of forwarded messages in your Outlook.com mailbox.
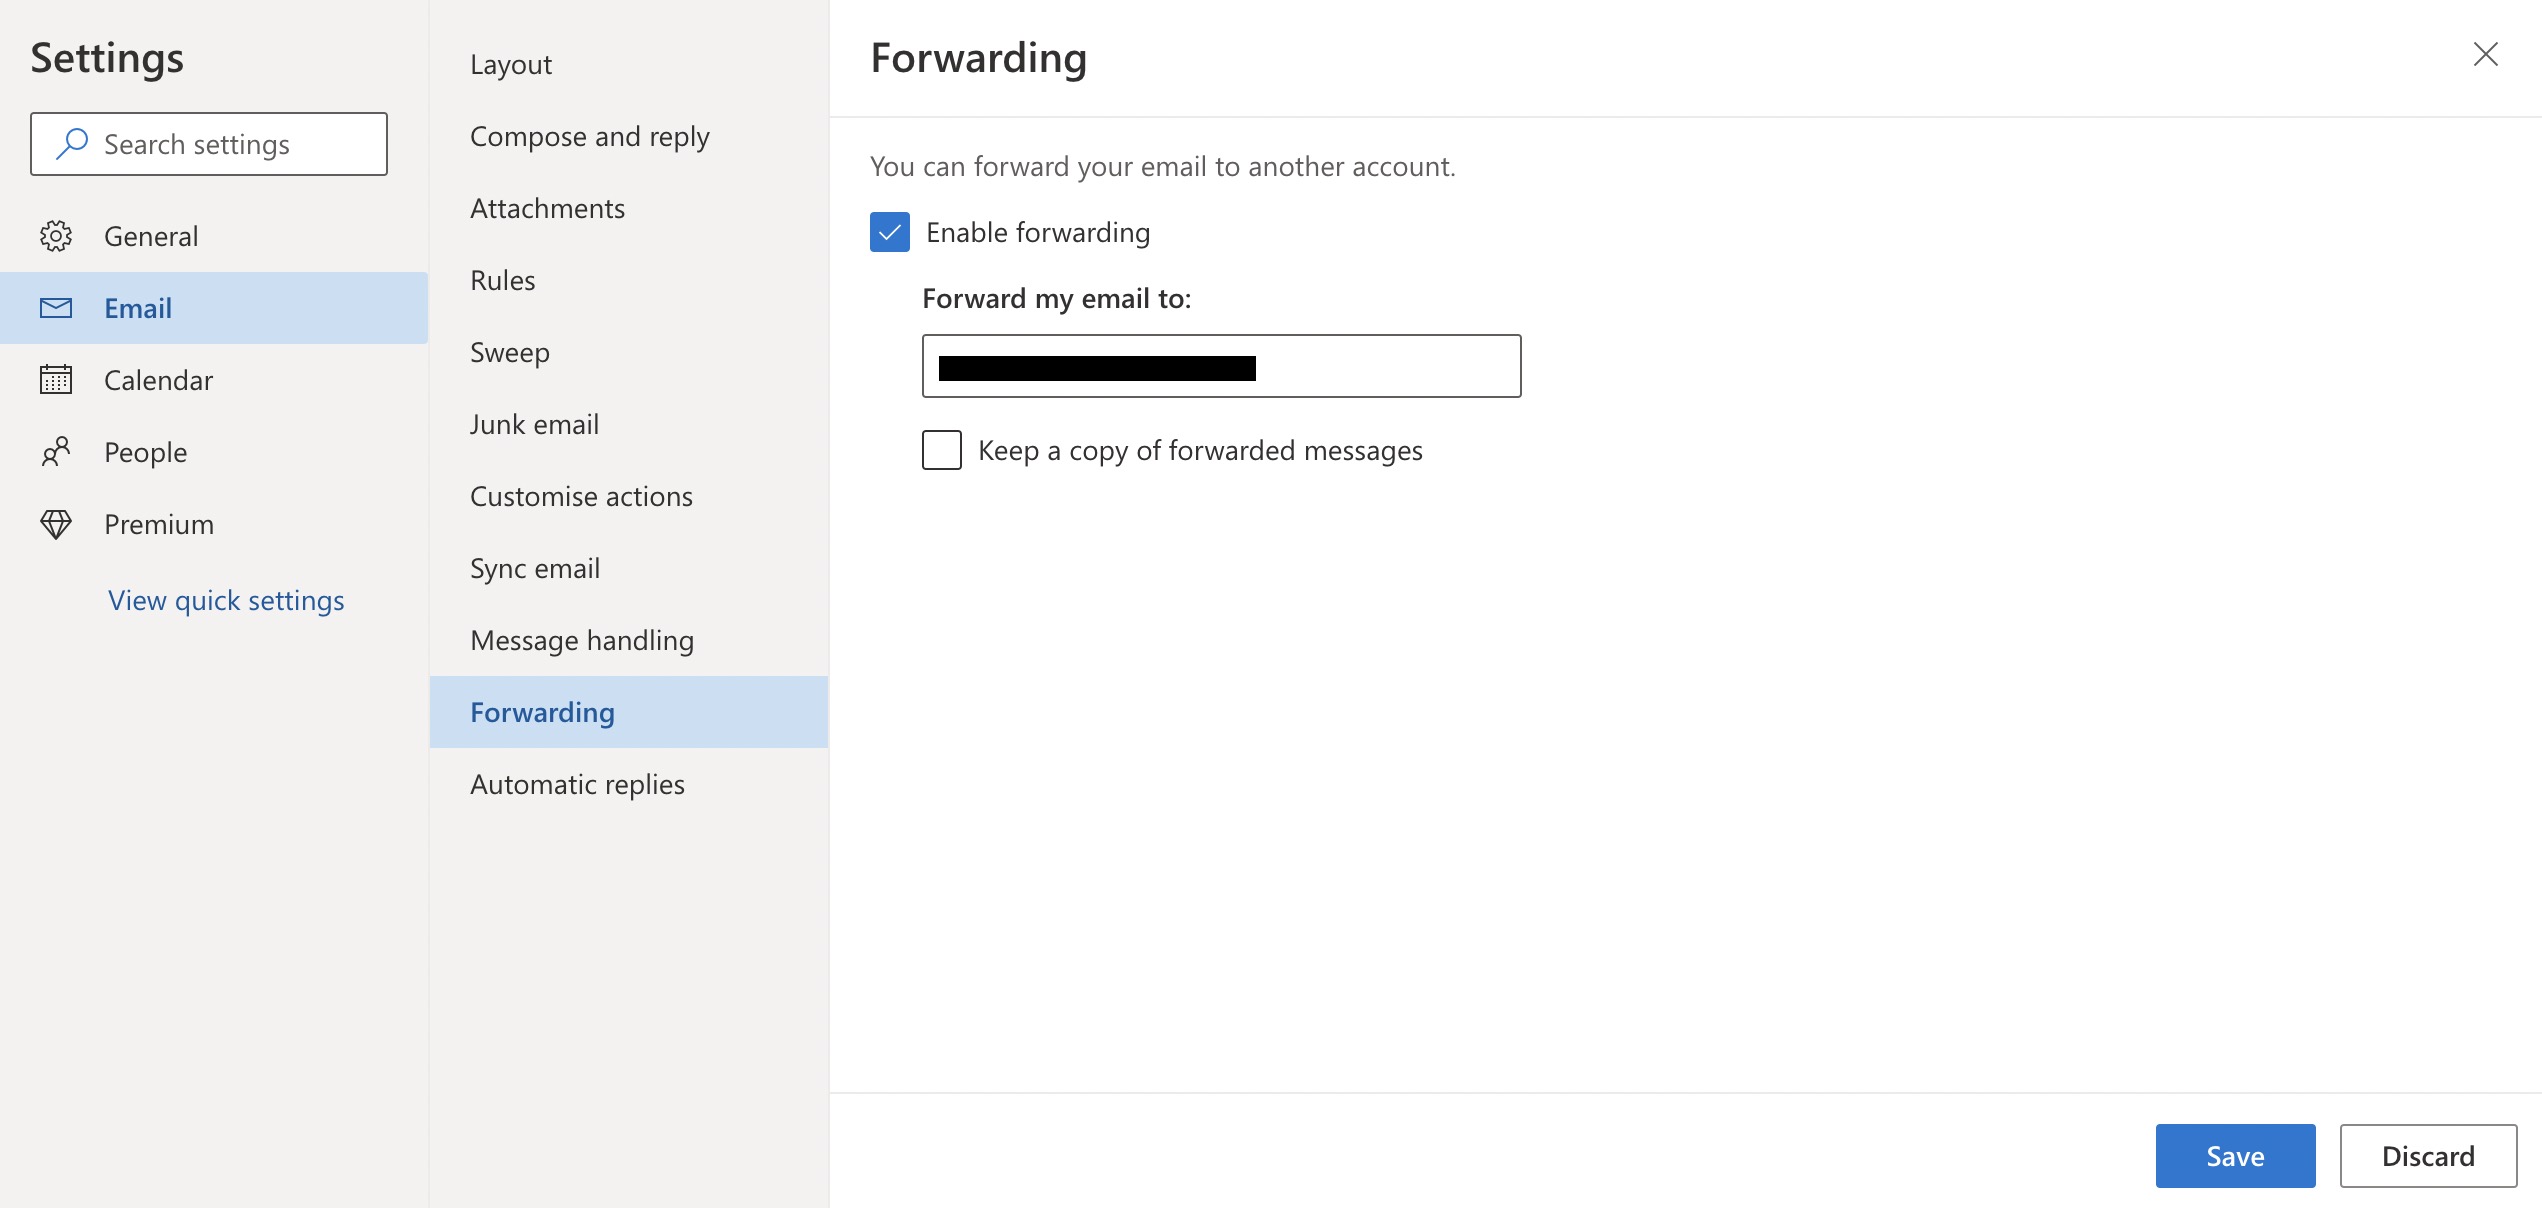
5. Click or tap the “Save” button. All of your Outlook.com emails will now be forwarded to your new email address.
To set up email forwarding in Yahoo Mail
Automatic email forwarding is only available on paid Yahoo Mail Pro accounts.
Here’s how to set up automatic email forwarding if you have a Pro account:
1. Open your Yahoo Mail mailbox in the browser, click or tap on the settings gear, and select “More Settings.”
2. Click or tap “Mailboxes” and select your mailbox account.
3. Enter your new email address in the “Forwarding Address” box and click or tap the “Verify” button.
4. A verification message will be sent to your new email address. Click the verification link in that message, sign in to your Yahoo Mail again if prompted, and click the “Verify” button. All of your Yahoo Mail emails will now be forwarded to your new email address.
Sunsetting your old email account
Now that all your data has been backed up and transferred to your new email account, the final step is to delete the data in and disconnect your old email account.
Deleting your old emails
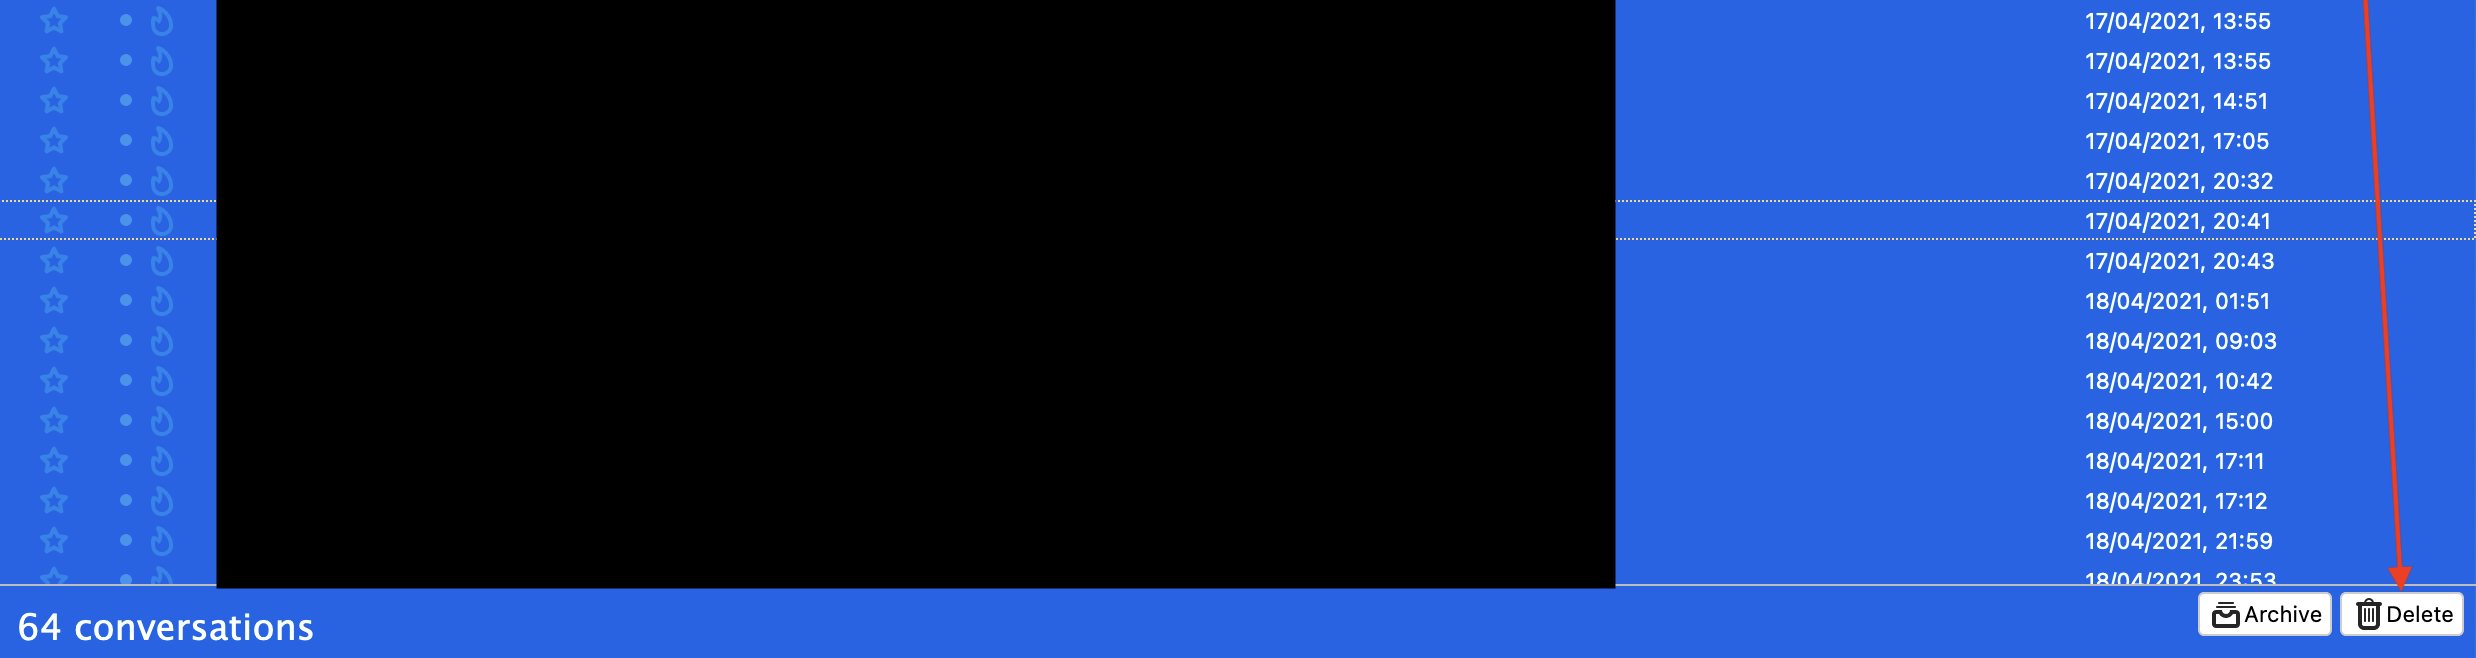
1. Click on your old email provider’s “Inbox” folder in Thunderbird, select all the emails, click the “Delete” button.
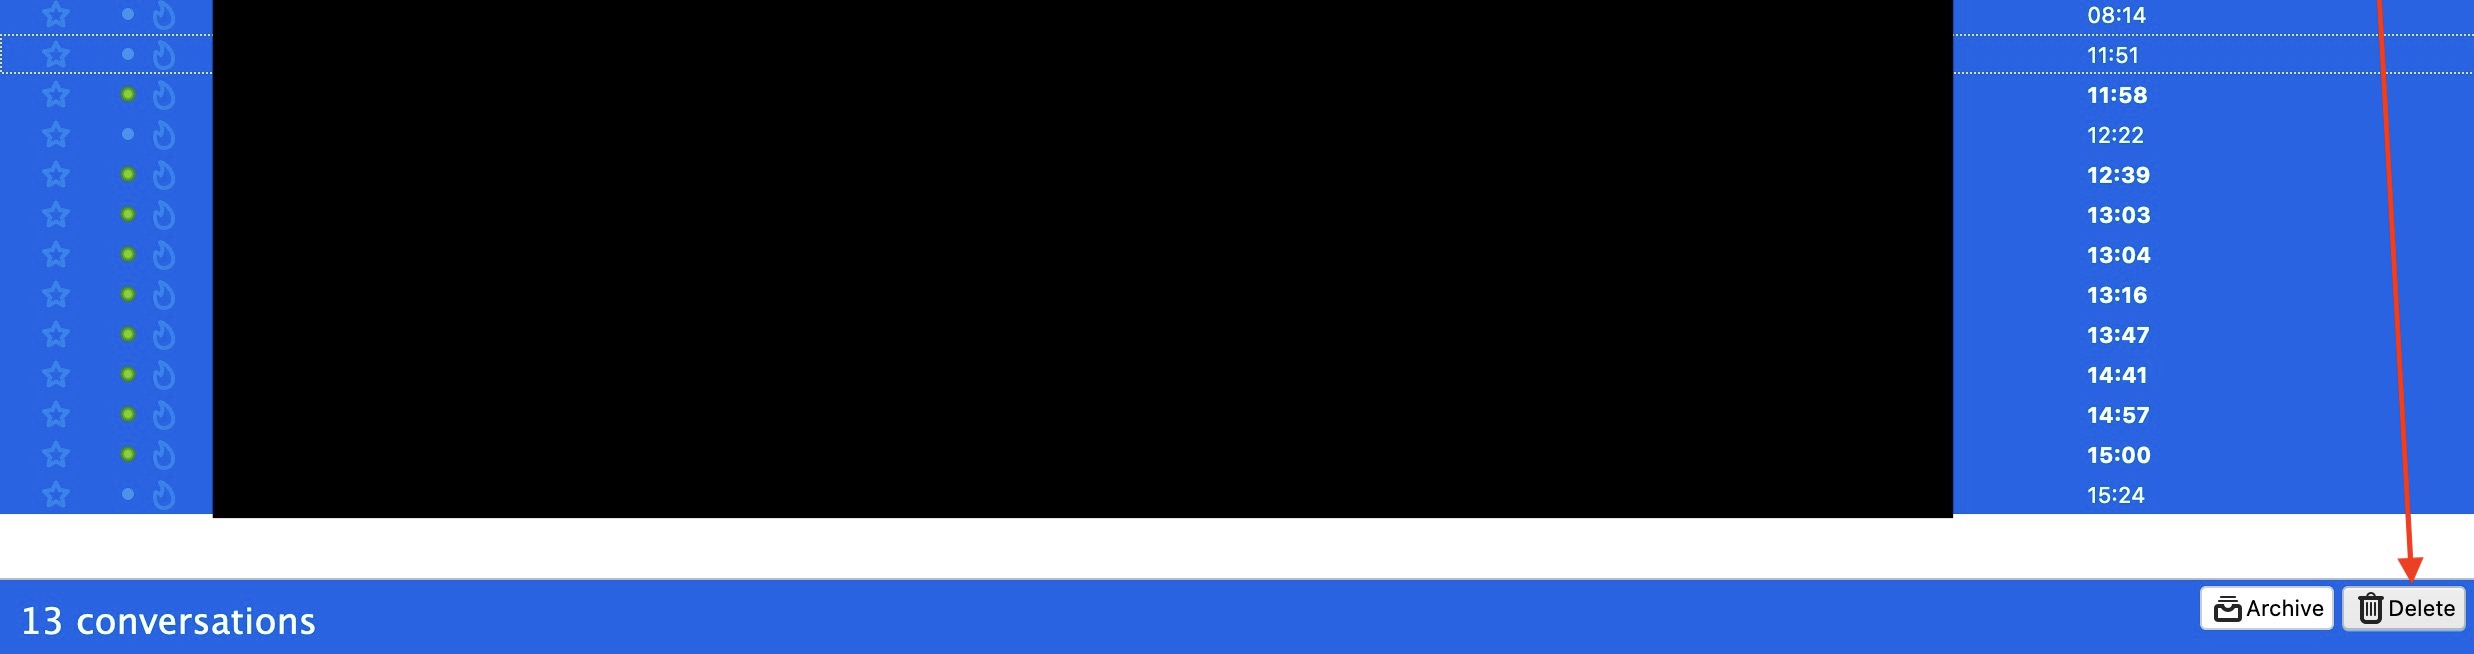
2. Repeat the process for all the remaining folders except “Trash”/”Deleted Items.”
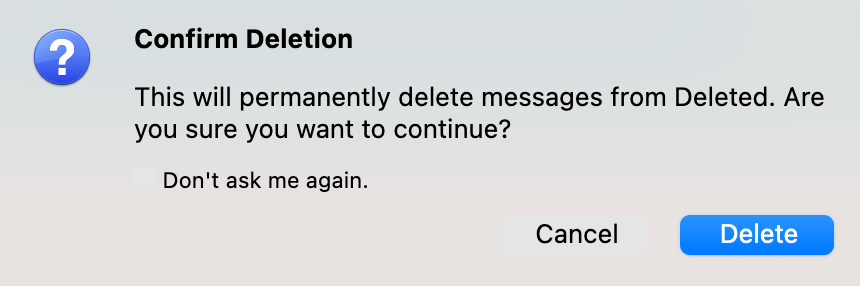
3. Click on your old email provider’s “Trash”/”Deleted Items” folder, select all the emails, click the “Delete” button, and click “Delete” again when prompted to permanently delete your old emails.
Disconnecting your mail accounts from Thunderbird
If you’re planning to use Thunderbird as your main email client, you should remove and disconnect your old mail account. If you’re planning to use webmail, you should remove and disconnect both of your mail accounts from Thunderbird and consider uninstalling the program.
Follow the instructions below to remove mail accounts from Thunderbird and disconnect it from your email providers.
To remove mail accounts in Thunderbird
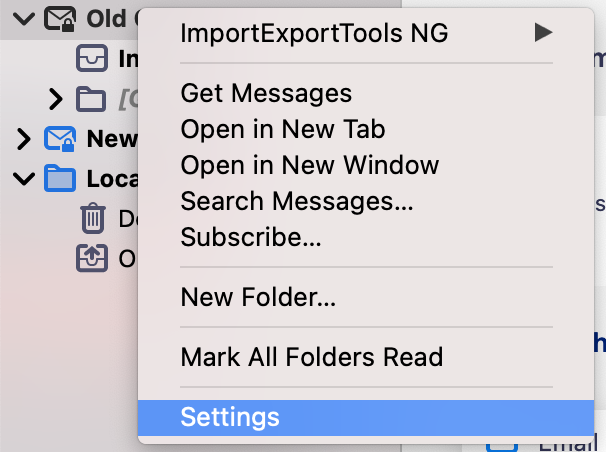
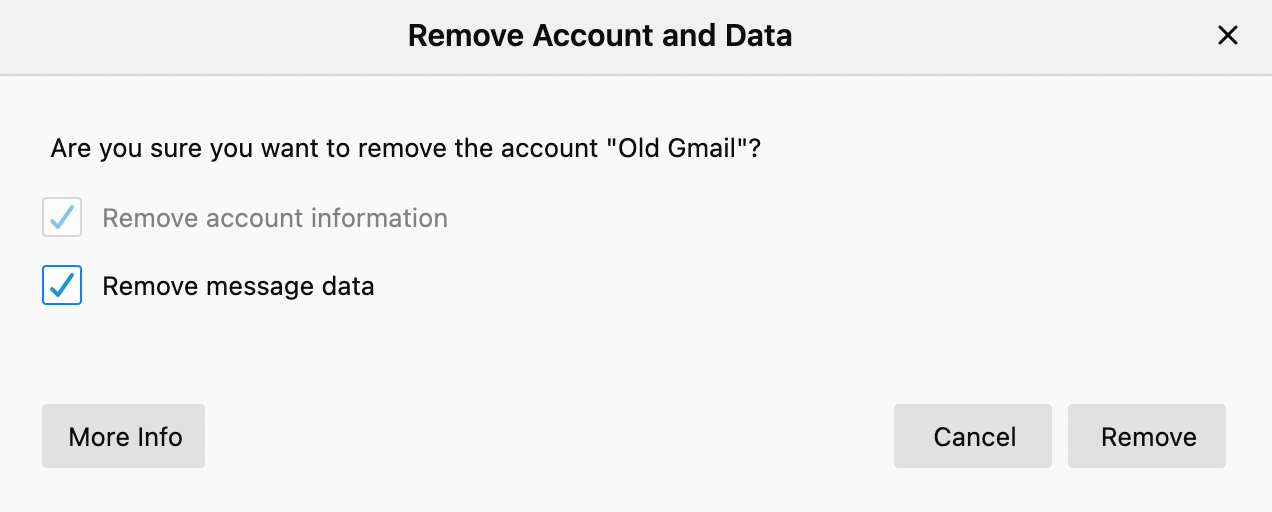
1. Right-click on the mail account in the left sidebar and click “Settings.”
2. Click “Account Actions” > “Remove Account.”
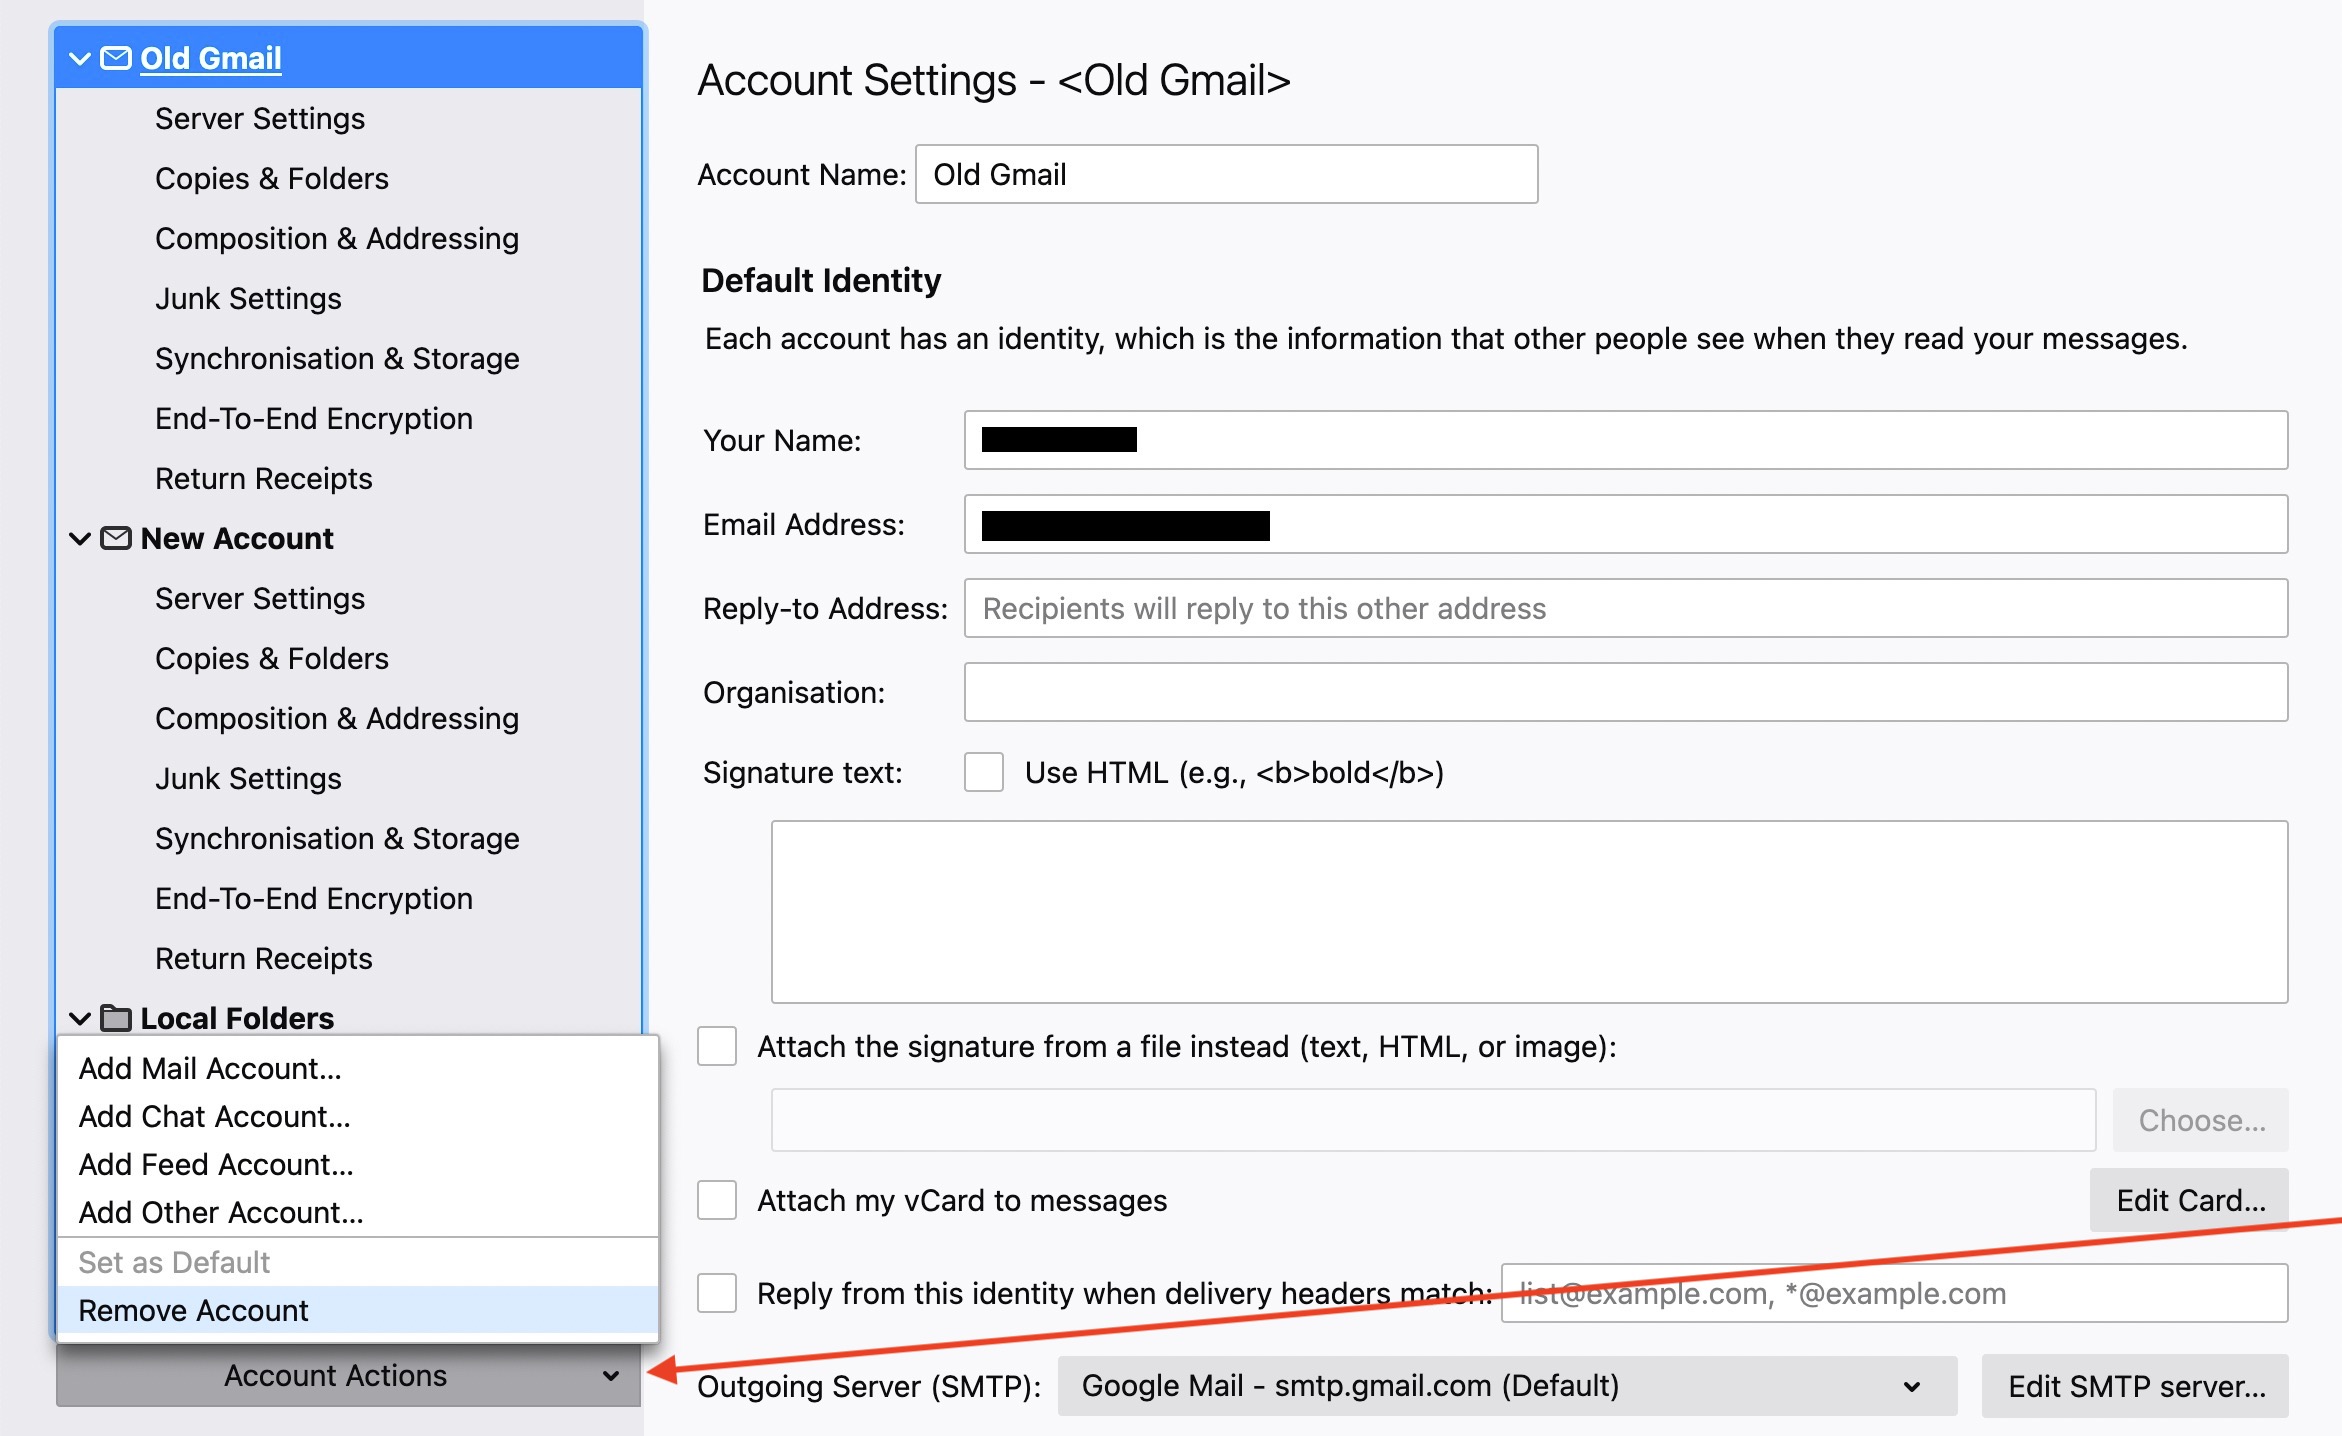
3. Select “Remove message data” and click “Remove” to confirm the removal.

To disconnect Thunderbird in Gmail
1. Go to your Google account’s third-party app permissions page and click or tap “Mozilla Thunderbird Email.”
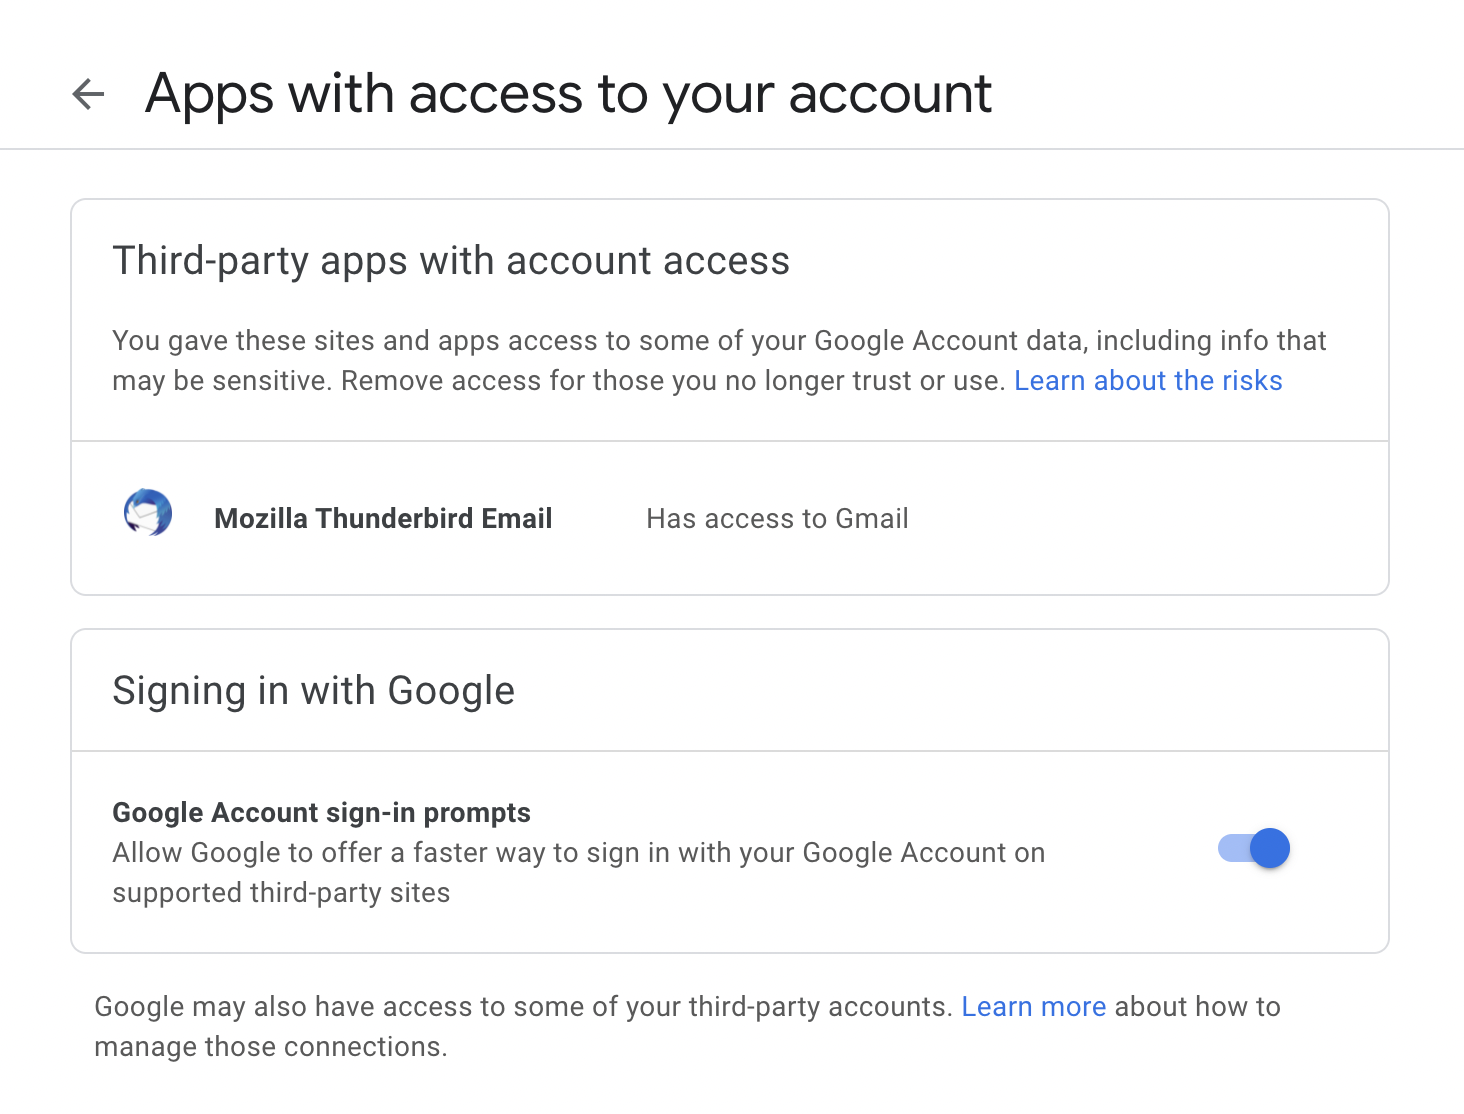
2. Click or tap the “Remove Access” button.
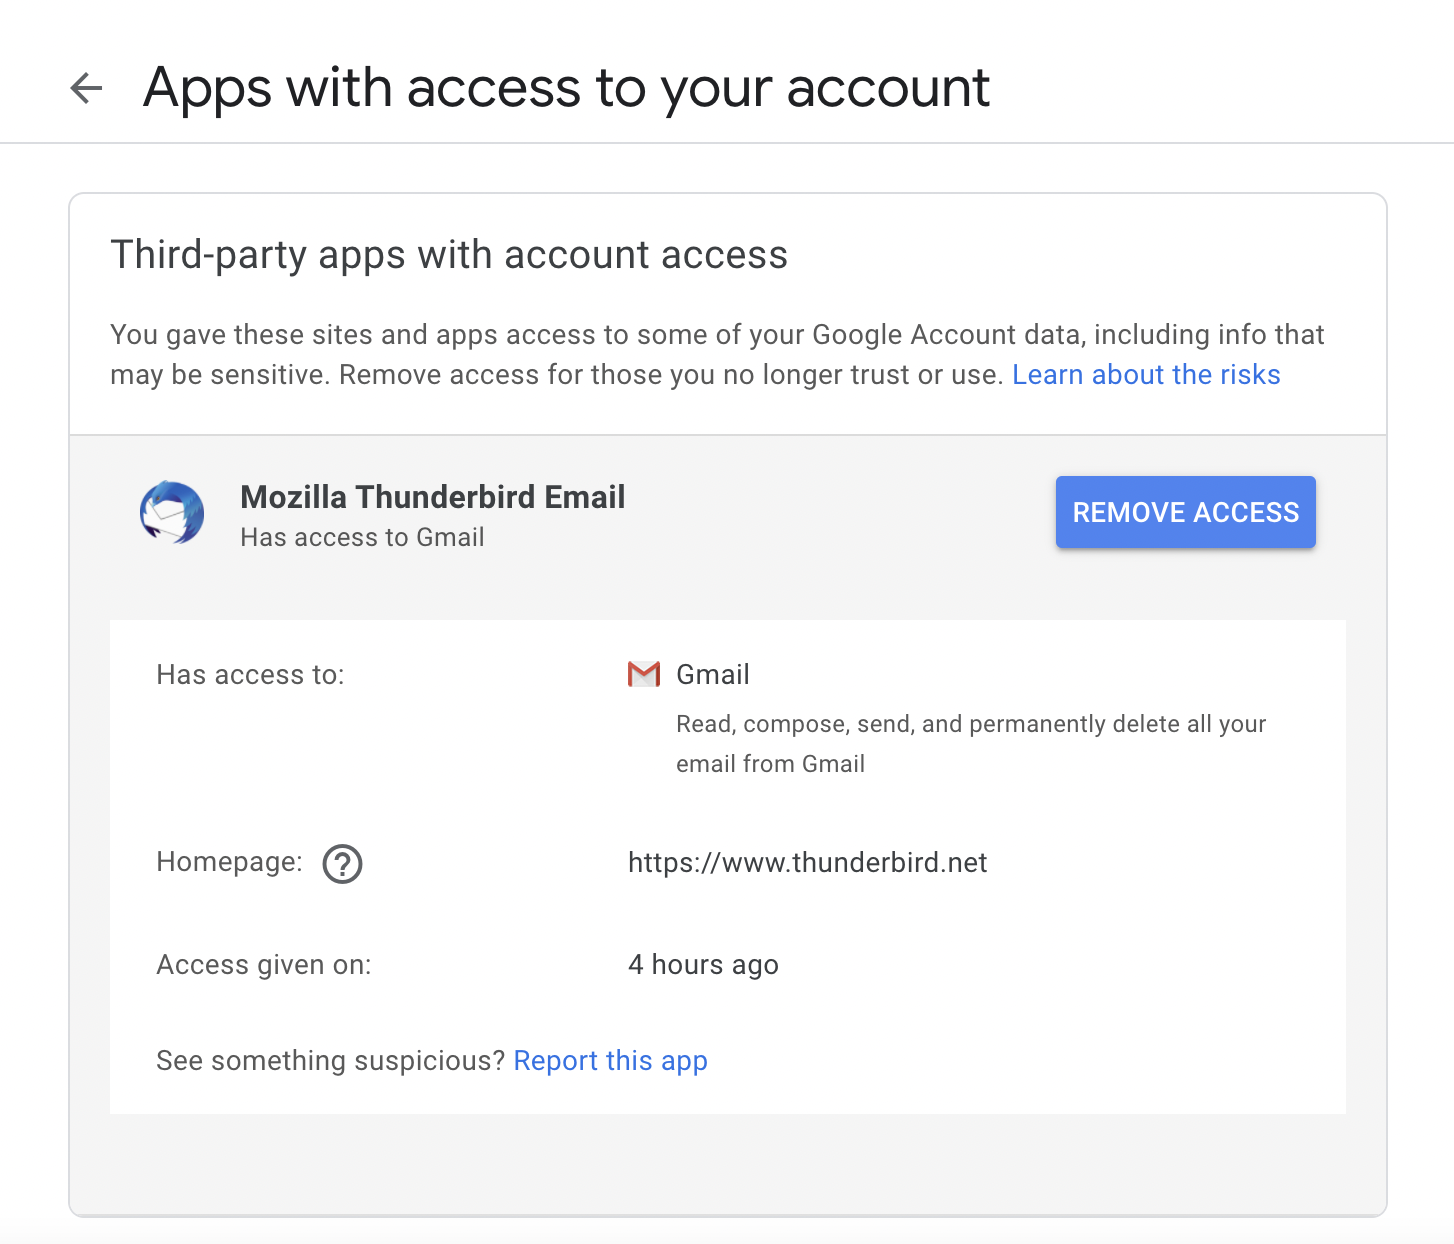
3. Click “OK” to confirm the removal.

To disconnect Thunderbird on Outlook. com
1. Go to the Microsoft Account Security page and select “Get started” in the “Advanced security options” section.
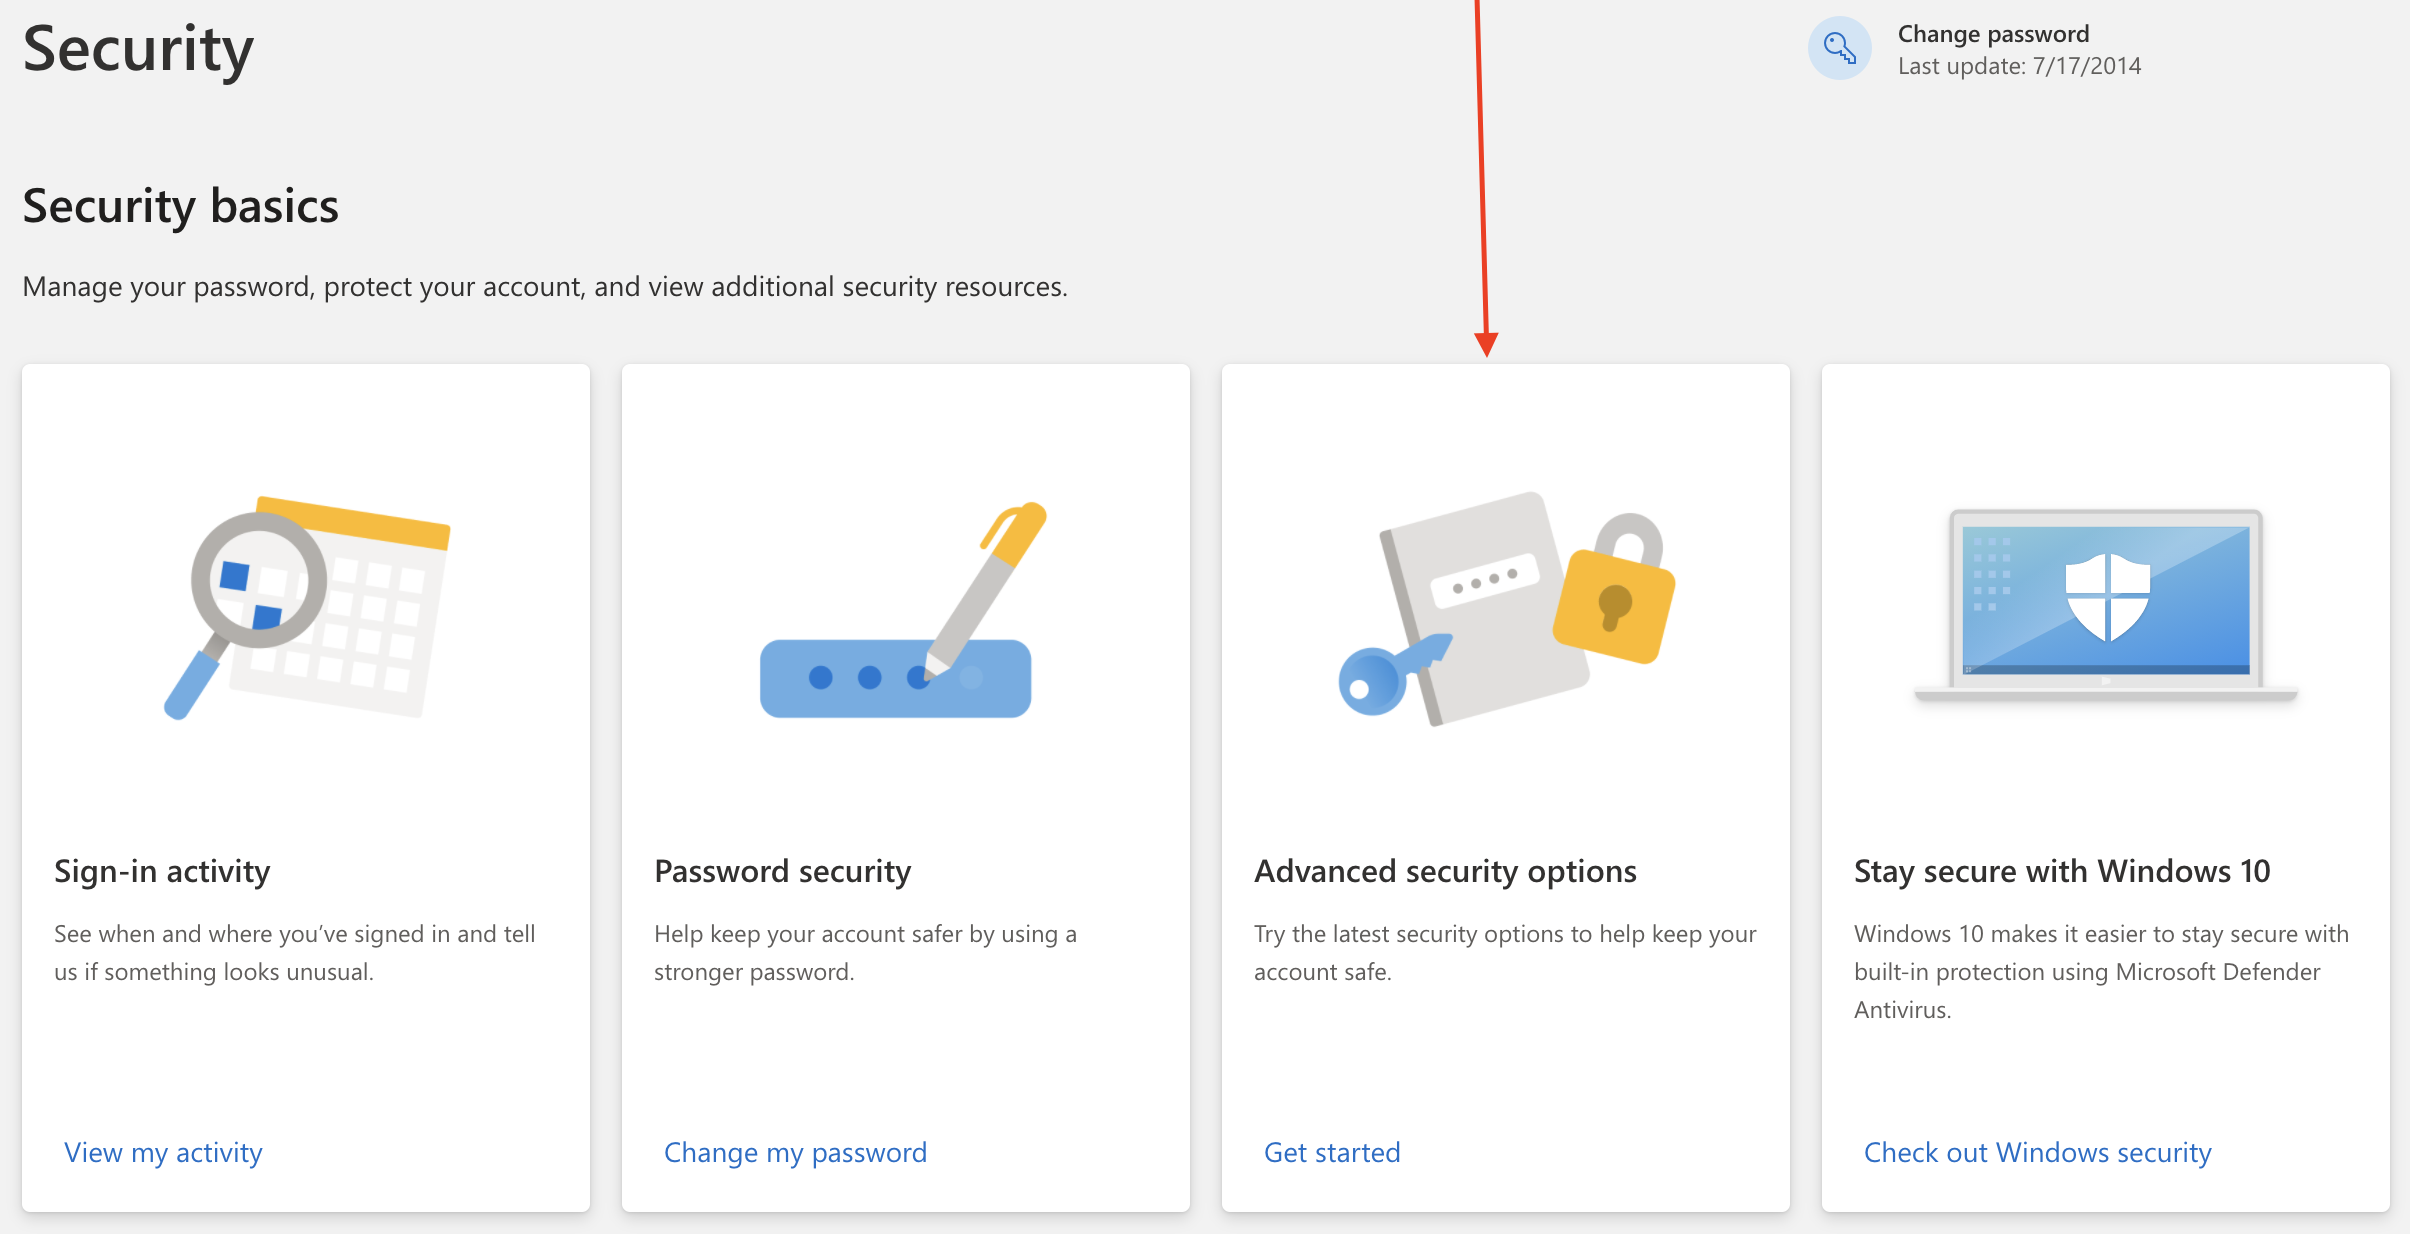
2. Scroll down to the “App Passwords” section and click or tap “Remove existing app passwords.”

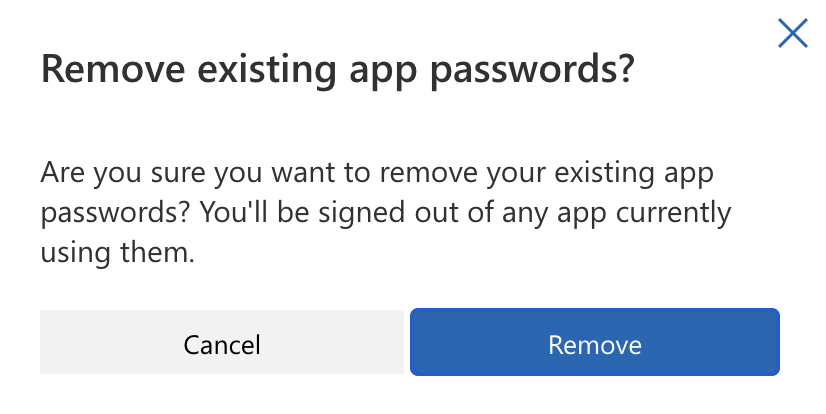
3. Click or tap “Remove” to confirm the removal of your existing app passwords.
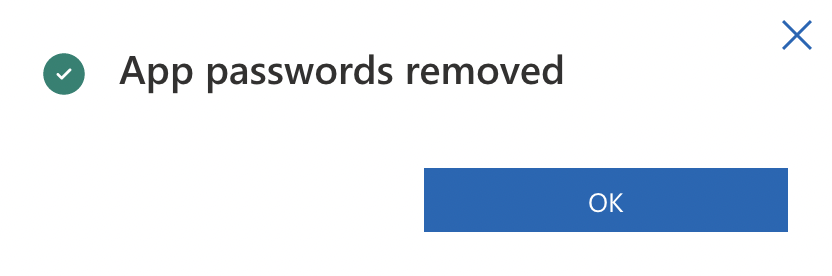
4. A notification will confirm that your existing app passwords have been removed.
To disconnect Thunderbird in Yahoo Mail
- Go to the Yahoo Mail “Account Security” tab.
- Select “Manage app passwords.”
- Find the app password you created for Thunderbird and click or tap the trash icon that’s next to it to remove the app password.